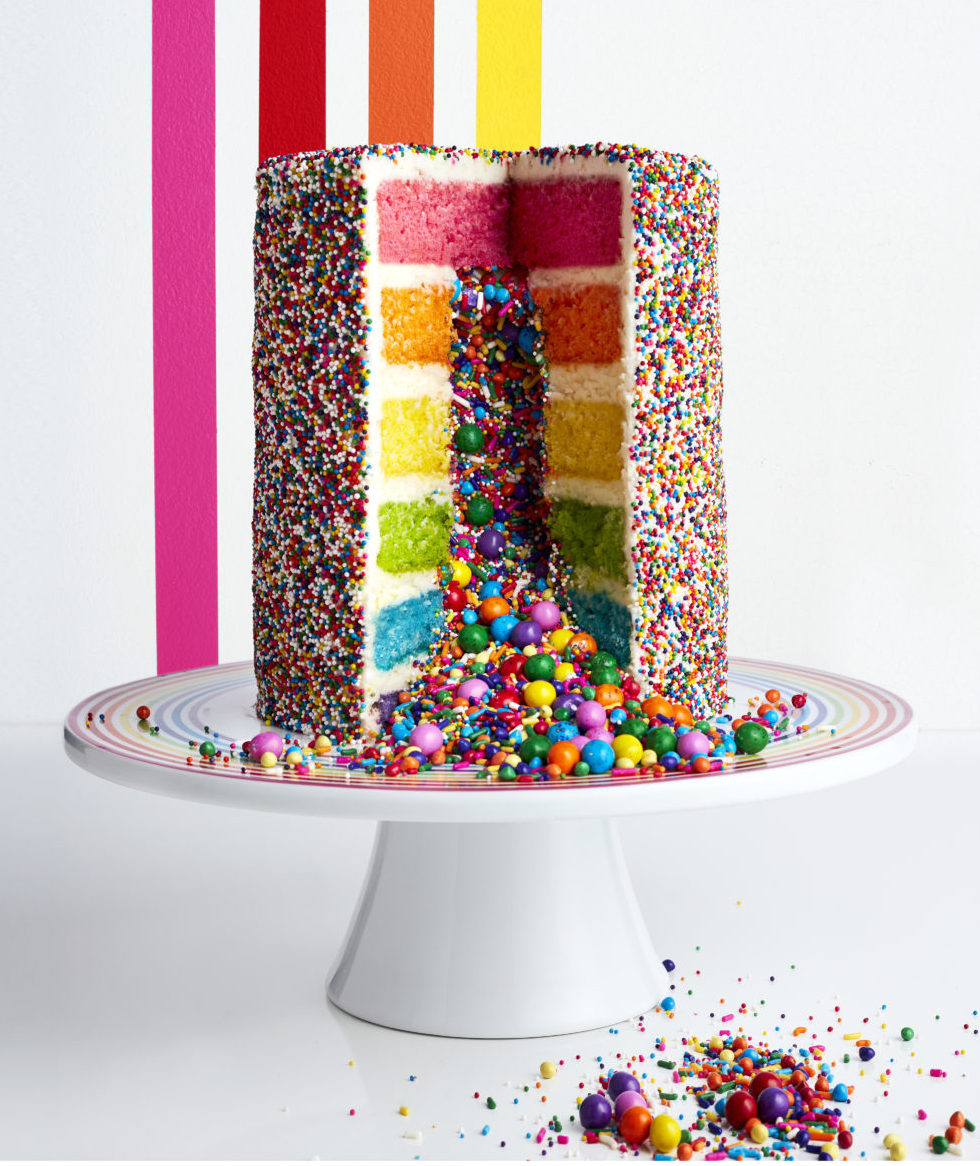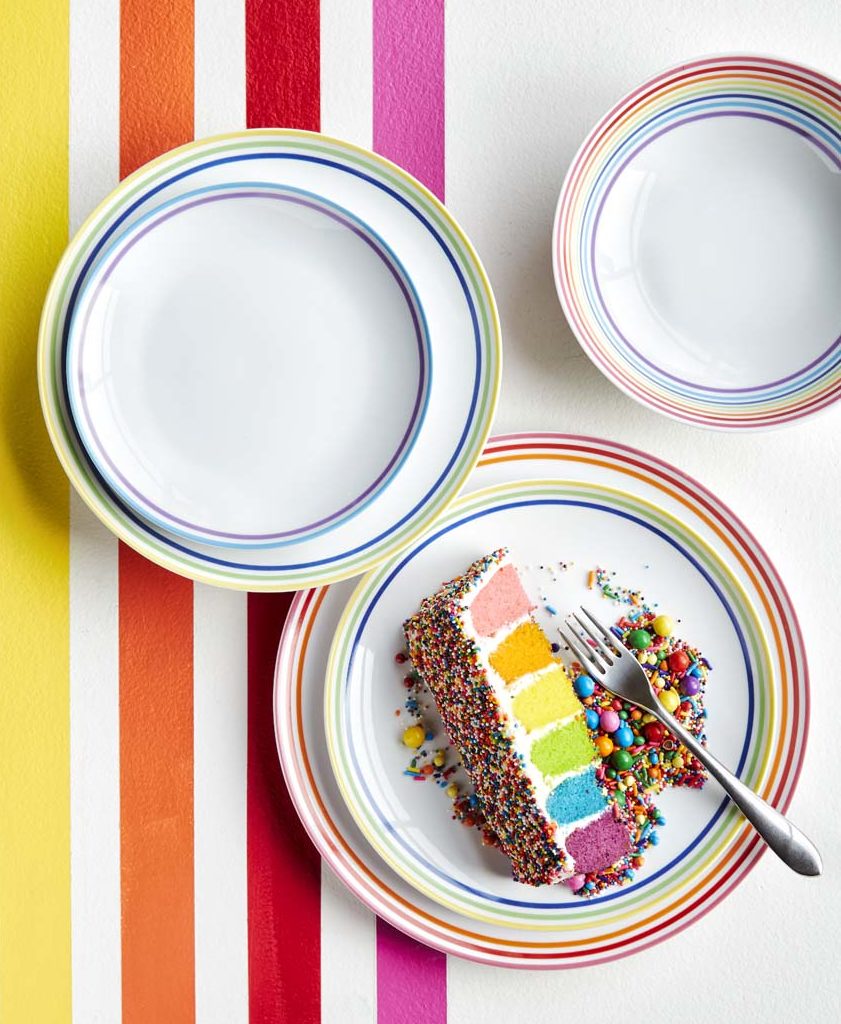
Amirah Kassem, the owner of Flour Shop and the face behind the Rainbow Explosion Cake made famous on Instagram, has baked cakes for everyone from Barbie to Katy Perry. While she had a career in fashion, she eventually transitioned out of the industry upon finding solace in baking cakes for friends and co-workers — and eventually a whole cast of celebrity clientele.
“Whenever a co-worker at my fashion job had a birthday I’d wake up really early, before work, and bake these over-the-top layer cakes that I filled with sprinkles so that, when you cut them open, the sprinkles poured out,” remembers Amirah. Soon, people began asking,” Where’d you buy this cake? Where can I get one?” Her cake kit and baking collection, now available at Williams Sonoma, includes everything you need to bake the kind of cake that everyone’s going to be grabbing their phones for.
We sat down with Amirah to get her first-hand tips on mastering cake baking and decorating once and fore all.
1. Make Even Cake Layers
The not-so-secret secret about baking a six-layer cake is making sure that each layer is even. First, spray each pan down generously with baking spray and then make sure that each of your cake pans are filled to the same level.
2. Equip Yourself
Amirah’s loyal to three key pieces of equipment: Ateco rotating cake stand, which Amirah believes makes it easier to create a super smooth surface; Goldtouch cake pans; and a cardboard round.
As for Williams Sonoma Goldtouch®, Amirah explains that:
“For most tools I don’t think brands really matter. But even as a home baker I was a huge fan of Williams Sonoma’s Goldtouch pans, and it’s what I use at Flour Shop. I don’t know what kind of magic they put in them, but I really believe in those pan. Cakes just love it in there!”
A cardboard cake round allows you to frost and decorate your cake on a different surface keeping your cake stand nice and clean. You can either buy cardboard rounds or make one yourself by cutting one out of cardboard and covering it in aluminum foil.
If you have a cardboard cake round, spread a small ring of frosting in the center of it. If you don’t have a cardboard round, spring a ring of frosting in the center of your cake plate or stand. This will keep the cake from sliding around as you assemble it.
3. Use a Piping Bag
“When I’m adding frosting between the layers, I try to count to the same number instead of just plopping and plopping frosting. This ensures that I use the same amount of frosting for each layer making them even in the end,” says Amirah.
Using a piping bag is a pro cake decorating trick that’ll help you get an even amount of frosting on your cake. When you add frosting to the bag, roll the sides down and keep squeezing the piping bag from the top down so it doesn’t squirt out of the top. Just like what happens when your toothpaste needs to be squeezed from the bottom every once and a while, this same approach works for piping.

4. Flip the Top
With any multiple layered cake, especially one as tall as Flour Shop’s, you want an extra flat top. To achieve this, just flip the top layer of your cake so that the domed part is now on the bottom, against the other layers. That way, the flat side with the nice, crisp edges becomes the top of your cake.
5. Apply a Crumb Coat
A crumb coat is important because it helps seal in crumbs before the second layer of frosting is applied. “I always do a really thin crumb coat, which is essentially applying a layer of frosting around the entire surface of the cake,” explains Amirah, adding, “Then I put the entire cake in the fridge or freezer for a few minutes to firm up so that it’s not wobbling when I go to add the final frosting layer.”
Pro Tip: If your cake begins to tilt, carefully shift it back into place with your hands.
6. Transfer Cake to the Fridge for a Few
Popping your frosted cake in the fridge for a few minutes helps to firm up the frosting so it doesn’t slide around when you begin to decorate it. Amirah suggests making space in your fridge beforehand so you save time clearing it out when you’re ready to pop it in. Don’t keep it in any longer than 10 minutes so that it doesn’t dry out.
7. How to Add Sprinkles
With clean and dry hands, pour sprinkles into a bowl. Pick up a small handful of sprinkles. Working from the bottom of the cake up, gently press the sprinkles into the frosting. Continue around and on top of the cake until the entire cake is completely covered in sprinkles. “This step is more foolproof then you might think, especially if your cake is firmed up from being in the fridge,” Amirah says.
8. Cut and Serve the Cake (Get Your Phones Ready!)
Gather your friends and family around so that everyone is on the same side as where the cake will be sliced. Get your cameras and phones ready! Slice the cake and gently pull the piece out, unveiling an explosion of sprinkles.
Check out this video to see exactly how the Rainbow Explosion Cake is made:

3 comments
I would hope that you would bring back the entire set that was available in 2019 and 2020. You sold all of the equipment as well as the mix and book “The Power of Sprinkles”. Is that a possibility?
Kathyn Moore we agree. When we made our cake we used miniature M&M’s, Reeses Pieces, and Skittles instead … however, upon further thought, we decided the teeth breaking sprinkles would have been okay because there was just too much sweetness to eat. If you’re talking about the ones speak on the entire outside of the cake, we used rainbow Jimmies instead (they don’t taste great but at least they don’t break your teeth.
I wonder if any of the bakers have sampled the sprinkles that they use.
I would highly recommend they do so.
The sprinkles are VERY hard on teeth and some can cause major damage.