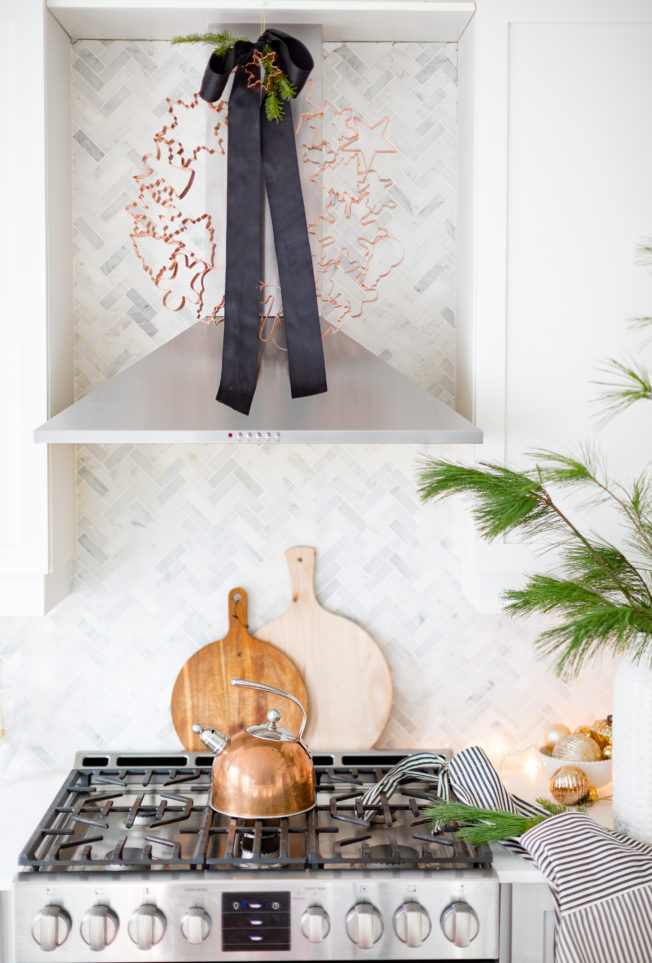
A cookie cutter wreath makes for perfect holiday decor in the kitchen. (Photo by Lucy Akins)
“Creativity is about seeing items in a different light,” says Lucy Akins, AKA @mscraftberrybush on Instagram. That explains why, when she saw our gleaming copper cookie cutters, she thought to put them together to create a beautiful, whimsical wreath.
“This adorable cookie cutter wreath is the perfect gift for the baker in your life,” says Akins. “I love how festive it is and how it adds a subtle sparkle and whimsy to the room.”
Best of all, it’s easy to assemble with readily available materials, some of which you may already have in your home, and can be customized with ribbons or greenery to suit your space.
Want to make your own cookie cutter wreath this holiday season? Keep reading to learn how.
Materials Needed
- Various sizes of copper cookie cutters
- Hot glue gun
- Decorative ribbon and greenery
- Copper wire
- (Shortcut version: Use paper clips instead of copper wire and adhesive putty instead of hot glue.)
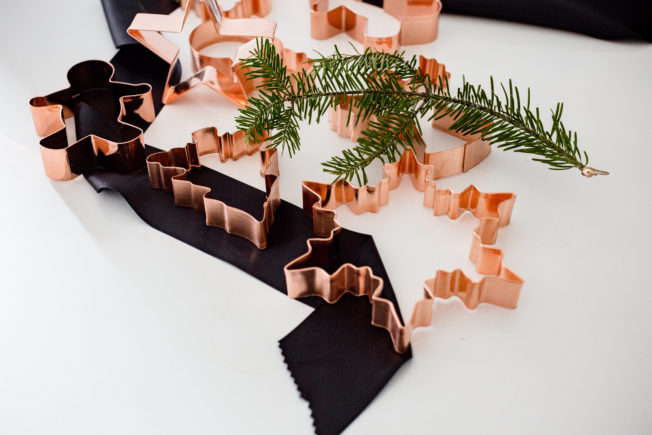
Photo by Lucy Akins
Step 1: Arrange Your Wreath
Using various cookie cutter sizes and shapes, assemble cookies in a circular shape. You may need to arrange and re-arrange the cookie cutters until you achieve the shape you desire, so a mix of small and large cookie cutters helps make it easier.
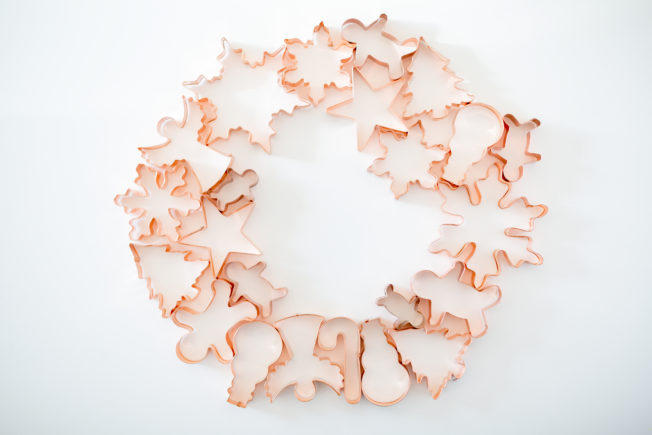
Photo by Lucy Akins
Step 2: Glue It Together
Once the cookie cutters are arranged to your liking, hot glue them to each other. Because the hot glue will not serve as a permanent adhesive and you’ll also need to go in and reinforce the shape by using 24-gauge copper wire to secure each cookie cutter to the next.
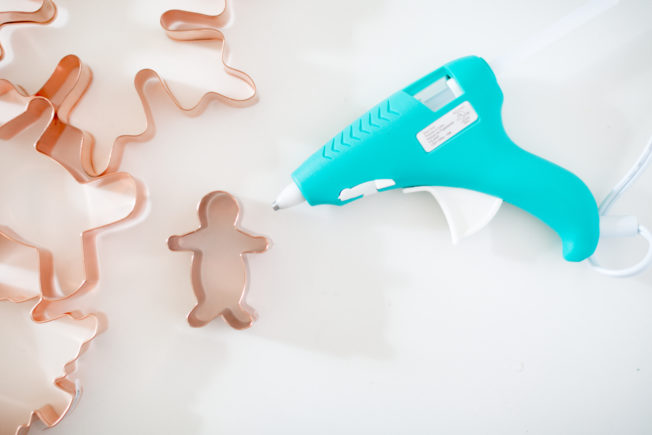
Photo by Lucy Akins
Step 3: Garnish and Hang
Add ribbon and greenery if desired and hang somewhere where it will really pop. Of course, it’s completely appropriate kitchen décor! “Feel free to change up the cookie cutter shapes to fit the season and accessorize by using twine or burlap instead of ribbon,” says Akins.

Photo by Lucy Akins
Quick Tip: Take a Shortcut
If you don’t have hot clue or copper wore, use adhesive putty instead of hot glue to attach cookie cutters to each other and secure with paper clips instead of copper wire.

Photo by Lucy Akins

2 comments
I will definitely make this, I really like it, Thank you!
Makes a fun and creative gift! Love it.