Sous Vide Thanksgiving Turkey
As anyone who has suffered through eating a dry, bland Thanksgiving turkey knows, it’s all too easy to mess up the centerpiece of the Thanksgiving feast. This led the cooks in our Test Kitchen to wonder whether you could use an immersion circulator, also known as a sous vide machine, to cook a turkey. After several experiments, we can safely say not only can you sous vide your Thanksgiving turkey, but you totally should. Using the sous vide method resulted in the juiciest bird our Test Kitchen cooks had ever tasted, and the meat had a deeper, more intense and more savory flavor than a traditional roasted turkey. This method also streamlines prep on Thanksgiving Day because you can cook the turkey up to 3 days in advance. And because it needs only about 25 minutes in the oven just before serving, it also frees up valuable oven space on the big day. The only challenge to the process is breaking down the turkey into quarters before cooking it, so you can cook the white and dark meat separately to the perfect doneness. However, with a sharp knife and a little patience, it’s not difficult when you follow the instructions below, Or, if you plan ahead, you can ask your butcher to do it for you.

Ingredients:
- 1 turkey, 12 to 14 lb. (6 to 7 kg)
- 20 Tbs. (2 1/2 sticks) (10 oz./310 g) unsalted butter, cut into tablespoons, at room temperature
- Kosher salt and freshly ground pepper
- 6 shallots, peeled and halved
- 15 fresh sage sprigs
- 15 fresh rosemary sprigs
- 15 fresh thyme sprigs
Directions:
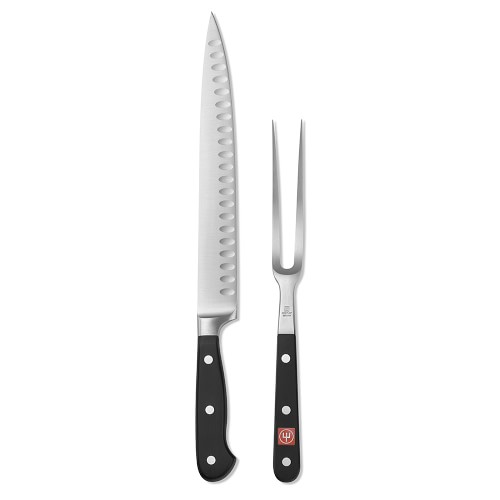
To break down the turkey, set a large cutting board on top of a damp paper towel or rubber mat (this will keep it from slipping). Remove the giblets and neck from the turkey and reserve to use in stock or gravy, if desired.
Pat the surface and the cavity of the turkey dry with paper towels. (The drier the turkey is, the less slippery and easier to handle it will be.) Place the turkey on the cutting board with the breast side up and the legs pointing toward you.
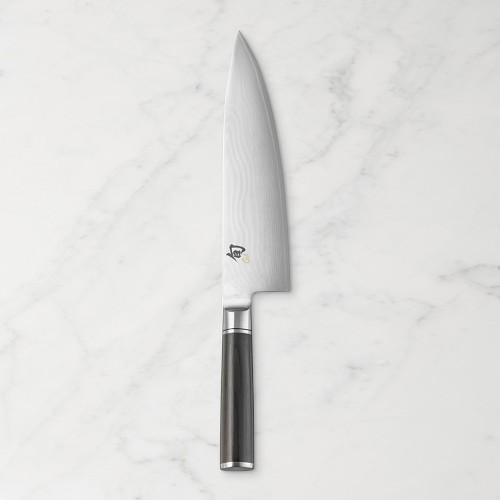
Grab one of the legs and pull it slightly away from the body of the bird. Using a sharp chef’s knife, cut through the skin between the leg and the breast until you hit the joint. Repeat with the second leg. Press one of the legs down firmly toward the cutting board, which will expose the joint. (You may hear a crack.) Repeat with the second leg. Cut through one of the exposed joints until the drumstick and thigh can be separated from the rest of the bird. Repeat with the second leg.
If the wings are tucked under the breast, untuck them so you can see all the joints. Cut through the skin between the wing and the breast, carefully guiding your knife around the entire joint. You may have to flip the bird over to get all around the wing. With the turkey breast side up, snap one of the wings toward the cutting board so that the joint is exposed. Cut through the joint until the wing separates from the bird, pulling and twisting the wing if necessary to get the wing to come off. Repeat with the second wing.
Set the breast upright on your cutting board, with the cavity side facing up. Guide your knife straight down under the breast, cutting away the ribs and backbone. When you get to where the neck meets the breast, use your knife to work around the joint, then press gently to snap the breast away from the bone. Reserve the backbone for stock or gravy, if desired. Cut off any large flaps of skin and discard.
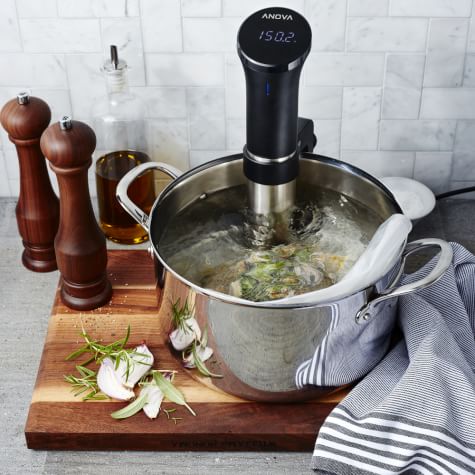
Attach an immersion circulator to a very large stockpot or other large heatproof container. Fill the pot with water until it reaches at least 2 inches (5 cm) above the minimum fill line. Using the immersion circulator, preheat the water to 150°F (66°C) according to the manufacturer’s instructions.
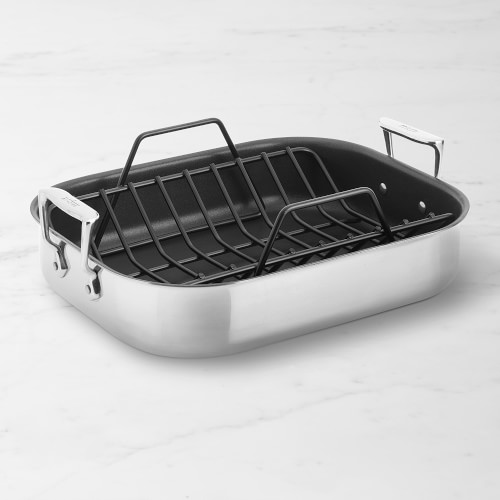
Arrange the turkey pieces, skin side up, in a single layer on a baking sheet. Working with one piece at a time, gently slide your fingers between the skin and flesh to loosen the skin. Using half of the butter (10 Tbs./5 oz./155 g), rub the butter under the skin of the turkey. Season both sides of each piece of turkey generously with salt.
Place the breast in a vacuum-sealable bag or in a 1-gallon zipper-lock bag. Add 4 Tbs. (1/2 stick/2 oz./60 g) of the remaining butter, 4 of the shallot halves and 5 each of the sage, rosemary and thyme sprigs to the bag. Set aside.
Place both legs and both wings in a single layer in a separate vacuum-sealable bag or in a 1-gallon zipper-lock bag. (If they won’t fit, you can put them in two separate bags and divide the remaining ingredients between the two bags.) Add the remaining 6 Tbs. (3/4 stick/3 oz./90 g) butter, the remaining 8 shallot halves and the remaining 10 sage, rosemary and thyme sprigs to the bag.
If using vacuum-sealable bags, vacuum and seal the bags according to the manufacturer’s instructions. If using zipper-lock bags, fill a large pot or bowl with room-temperature water. Working with one bag at a time, lower the bag into the water. The water pressure will force the excess air out of the bag. When the top of the bag reaches the level of the water, seal the bag tightly.
Submerge all of the sealed bags in the circulating water. Cook the breasts for 4 hours, then remove from the water and transfer to an ice bath until chilled. (Leave the legs and wings in the water bath.) When the breast is chilled, transfer to the refrigerator for up to 3 days. Continue cooking the legs and wings in the water bath for 3 hours more, then transfer to an ice bath until chilled. When chilled, transfer to the refrigerator for up to 3 days.
When ready to serve, preheat an oven to 450°F (230°C).
Remove the turkey pieces from the bags; discard the shallots and herbs. Place the breast on one baking sheet and the legs and wings on another baking sheet in a single layer. Discard the shallots and herbs. Season the turkey pieces lightly with salt and pepper.
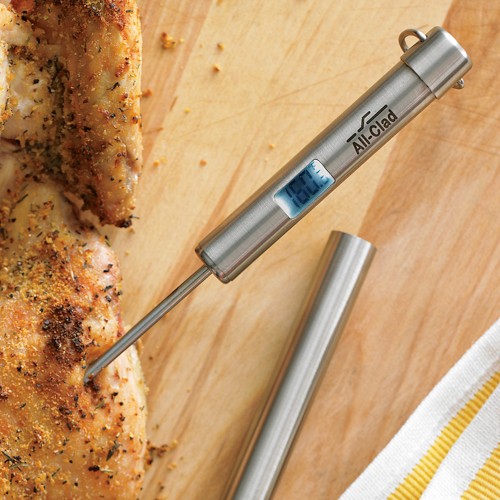
Transfer to the oven and roast until the skin is deep golden brown and an instant-read thermometer inserted into the breast registers 165°F (74°C) and into the thighs registers 175°F (80°C), about 25 minutes. Remove from the oven and let rest for 10 to 20 minutes before carving. Serves 10.
Williams Sonoma Test Kitchen
Recommended Products:
-
$49.95
-
$199.95
 (36)
(36)
-
$199.95
 (35)
(35)
-
$184.95
 (29)
(29)
-
$39.95
 (18)
(18)
-
No longer available
 (7)
(7)
-
$99.95