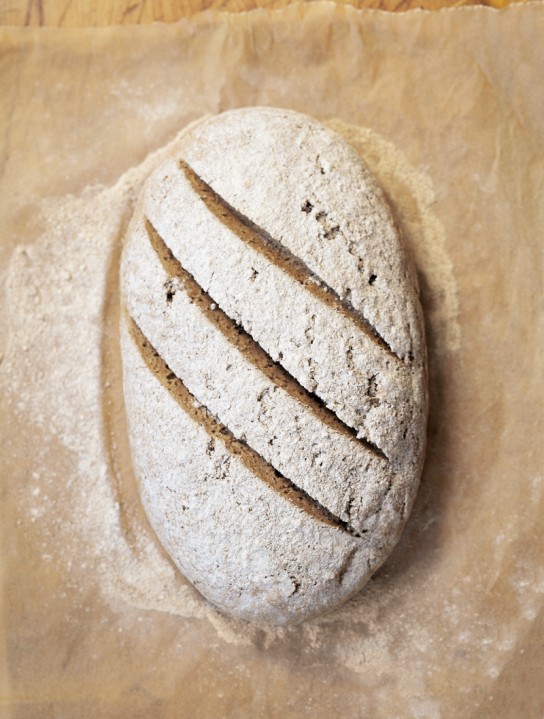
A leisurely day is the perfect time to bake a loaf of yeast bread and enjoy the comforting aromas that fill your kitchen. Once you’ve mastered a few basic techniques, yeast breads are easy to prepare at home. Here we provide a step-by-step guide to making yeast breads, from proofing and mixing the dough to shaping it for the oven. Read on, then visit our bread shop to get started. Also be sure to check out our step-by-step tutorials for making focaccia, pizza dough and crusty country-style loaves at home.
PROOFING YEAST
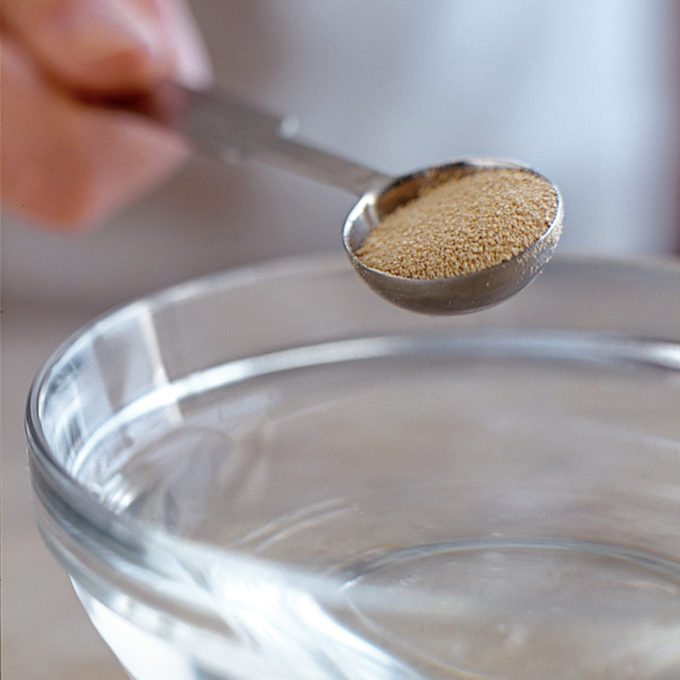
Add Yeast to Warm Water
Dissolve active dry yeast in a small amount of warm liquid (105 to 115˚F). Fresh yeast cake should be crumbled into lukewarm liquid. If the water is too hot, it will kill the yeast. If it is too cold, the yeast will not be efficiently activated. Some recipes call for adding sugar or honey which feeds the yeast, causing the mixture to become bubbly.
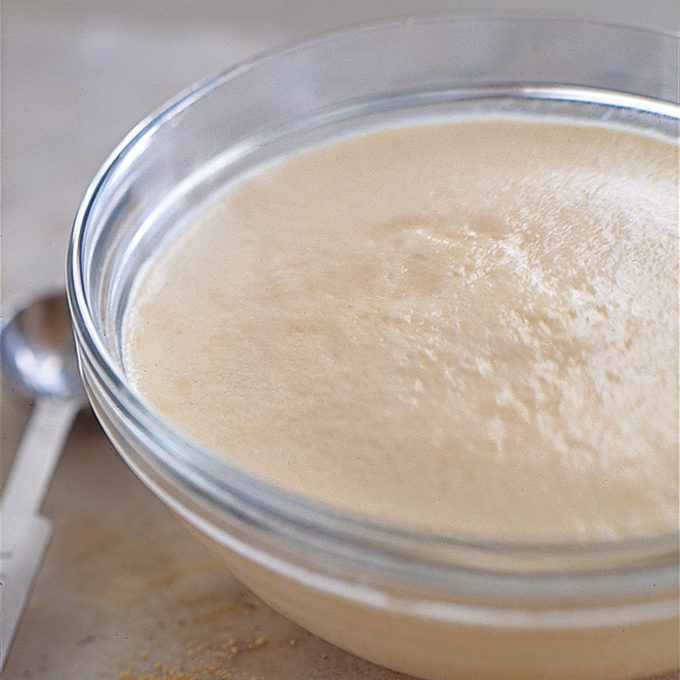
Check for Activity
Let the mixture stand for 5 to 10 minutes until bubbling and foamy. If the yeast does not bubble, start over with fresh yeast.
MAKING A SPONGE
A sponge – typically a mixture of flour, liquid and yeast – adds a deeper flavor and better texture to finished bread.
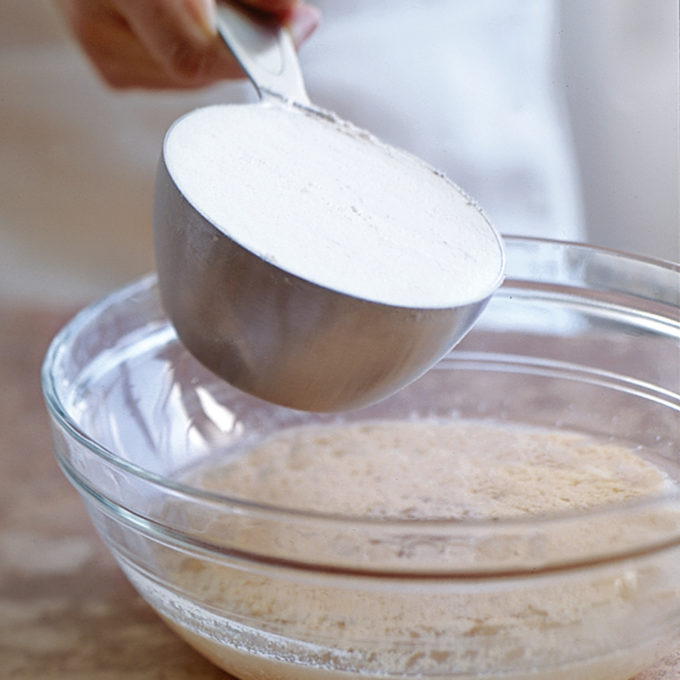
Add Flour to the Proofed Yeast
To make a sponge, first proof the yeast in a large mixing bowl. Add the flour and any other ingredients called for in the recipe and stir with a wooden spoon until smooth.

Cover and Let the Sponge Stand
Cover the bowl with plastic wrap and let stand for at least 3 hours at cool room temperature or up to overnight in the refrigerator, or according to your recipe.
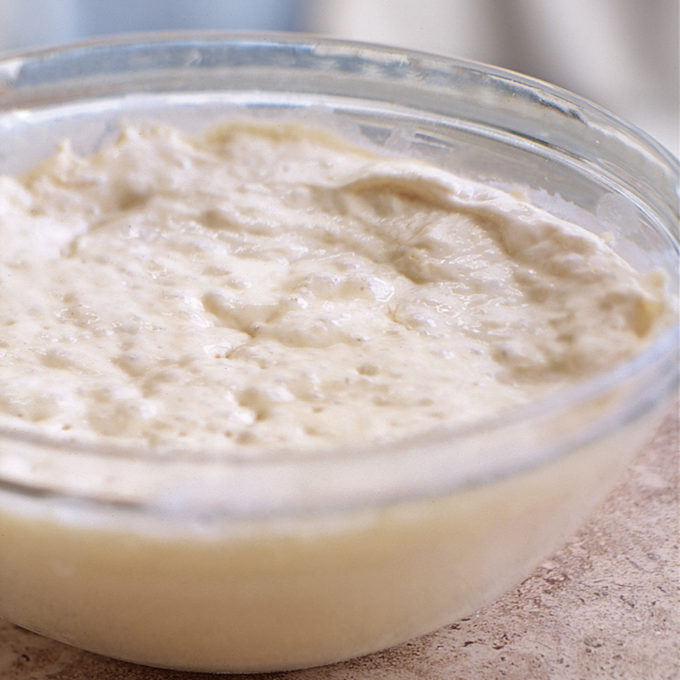
Bring the Sponge to Room Temperature
When the sponge is ready it will have risen, be bubbly and have a slightly sour or fermented smell. If the sponge has been refrigerated, bring it to room temperature for 1 hour before finishing the dough.

Troubleshooting
Check on the sponge periodically during proofing. If it doesn’t look bubbly or smell sour, discard it and start again with fresh ingredients.
MIXING & KNEADING BREAD DOUGH
To mix and knead by hand:

Add Flour to the Sponge
Make a sponge and let stand for at least 3 hours or according to your recipe. Add the flour, then the salt to the sponge. If the salt comes in direct contact with the yeast, it can deactivate it.

Stir Together the Dough
Using a wooden spoon or your hands, stir the dough until it forms a rough mass. Using a plastic pastry scraper, scrape the dough onto a floured work surface. Invert the bowl over the dough and let it rest for 10 to 15 minutes.
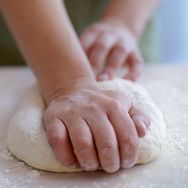
Knead the Dough
Uncover the dough and knead it by using the heel of one hand to push the dough away from you and then pull it back with your fingertips. Turn and repeat until the dough is smooth and elastic, 5 to 7 minutes.

Transfer the Dough to an Oiled Bowl
Form the dough into a ball, transfer to a lightly oiled bowl and cover the bowl with plastic wrap.
To mix and knead using a stand mixer:

Add the Ingredients to a Mixer
Fit a stand mixer with the hook attachment. Transfer the sponge, if using, to the bowl of the stand mixer. Then, add the flour and any other ingredients called for in the recipe.

Knead the Dough
Turn the mixer on low speed and knead, adding flour as necessary, until the dough comes away from the sides of the bowl. Continue kneading until smooth and elastic, 5 to 7 minutes.
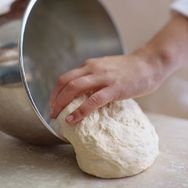
Transfer to a Floured Work Surface
Remove the bowl from the mixer and use your hand or a spatula to ease the dough onto a floured work surface.
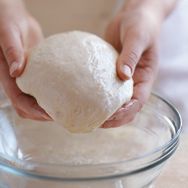
Place the Dough in an Oiled Bowl
Form the dough into a ball by tucking the sides of the dough underneath and lightly pinching them together. Rotate, tucking and pinching, until a ball forms. Place the ball in an oiled bowl and cover with plastic wrap.
PROOFING & SHAPING BREAD DOUGH

Let the Dough Rise
Let the dough rise in a warm, draft-free spot until it doubles in bulk. This can take 1 to 2 hours or more, depending on the temperature of the room.

Punch Down the Dough
Punching down the dough releases gases that have built up during rising. Simply press down on the dough a few times with your fist until it has lost most of its air. Then, turn the dough out onto a lightly floured surface.
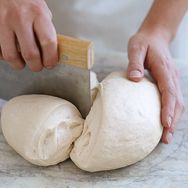
Divide the Dough
If your recipe calls for dividing the dough into portions, use a bench scraper or a sharp knife to cut it. You can cover the portions of dough you aren’t using with a damp kitchen towel so they won’t dry out.
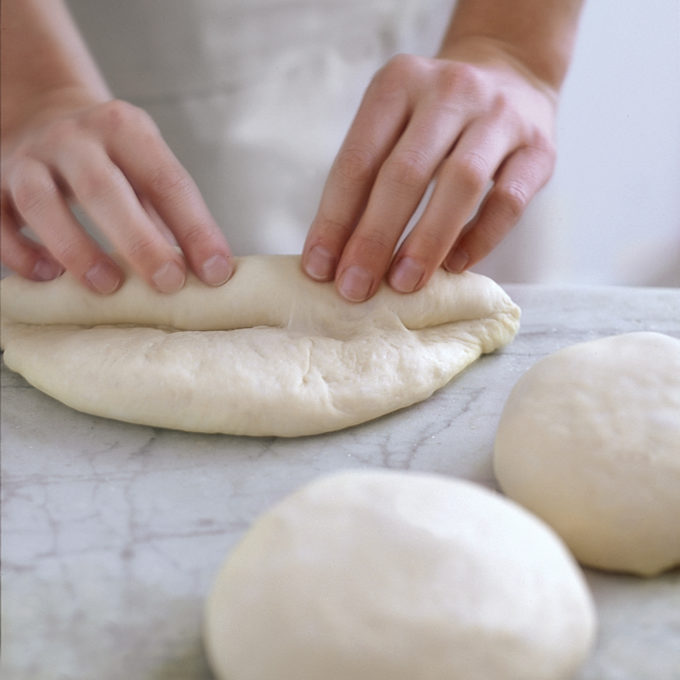
Shape the Dough
Working with one portion at a time, shape the dough as specified in your recipe. Here, we show the beginning stages of shaping the dough into a baguette. Transfer the finished shaped dough onto a baking pan sprinkled with cornmeal.
SLASHING BREAD DOUGH
Slashing the dough, or cutting slits in it, allows the carbon dioxide and steam that build up during baking to be released.

Angle the Knife Blade
Hold the knife blade at a shallow angle (about 45 degrees) so that you slit under the surface of the dough, rather than cut too deeply. You can also use a French-style lame to score the surface of the dough.
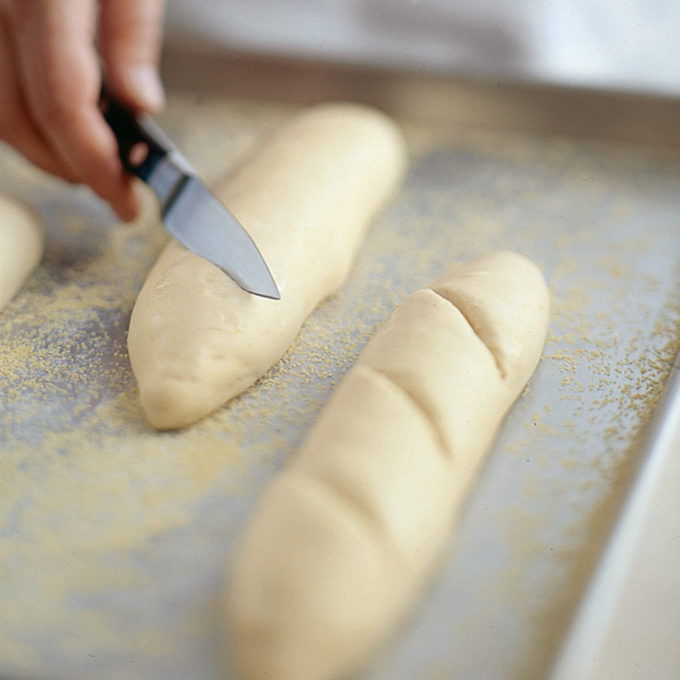
Slash the Dough
Keeping the knife at an angle, make 2 to 5 slits depending on the shape of your dough, or according to your recipe.

6 comments
[…] Bread Baking Tips (williams-sonoma.com) […]
[…] Bread Baking Tips (williams-sonoma.com) […]
[…] Bread Baking Tips (williams-sonoma.com) […]
[…] Bread Baking Tips | Williams-Sonoma Taste […]
The first evidence of baking occurred when humans took wild grass grains, soaked them in water, and mixed everything together, mashing it into a kind of broth-like paste.The paste was cooked by pouring it onto a flat, hot rock, resulting in a bread-like substance. Later, this paste was roasted on hot embers, which made bread-making easier, as it could now be made any time fire was created. The Ancient Egyptians baked bread using yeast, which they had previously been using to brew beer.-*:`
Kind thoughts
<http://healthmedicinebook.com/
THANKS FOR THIS SIMPLE STEP BY STEP YOU SHOW IN MAKING DOUGH..I CAN SURELY FOLLOW THE INSTRUCTIONS WITH OUT DIFFICULTY,…..