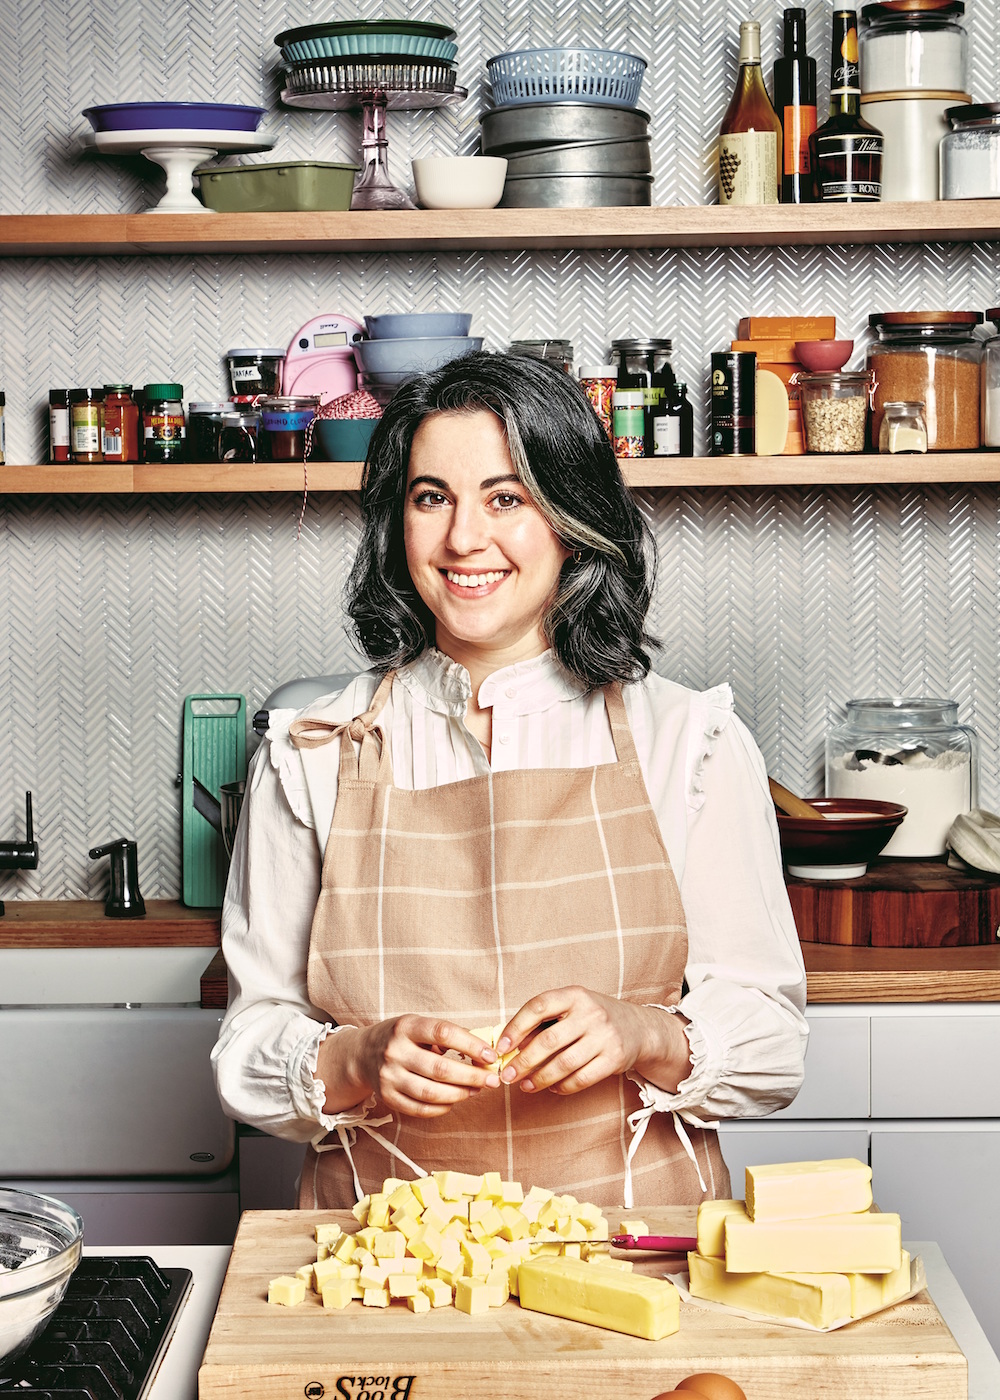
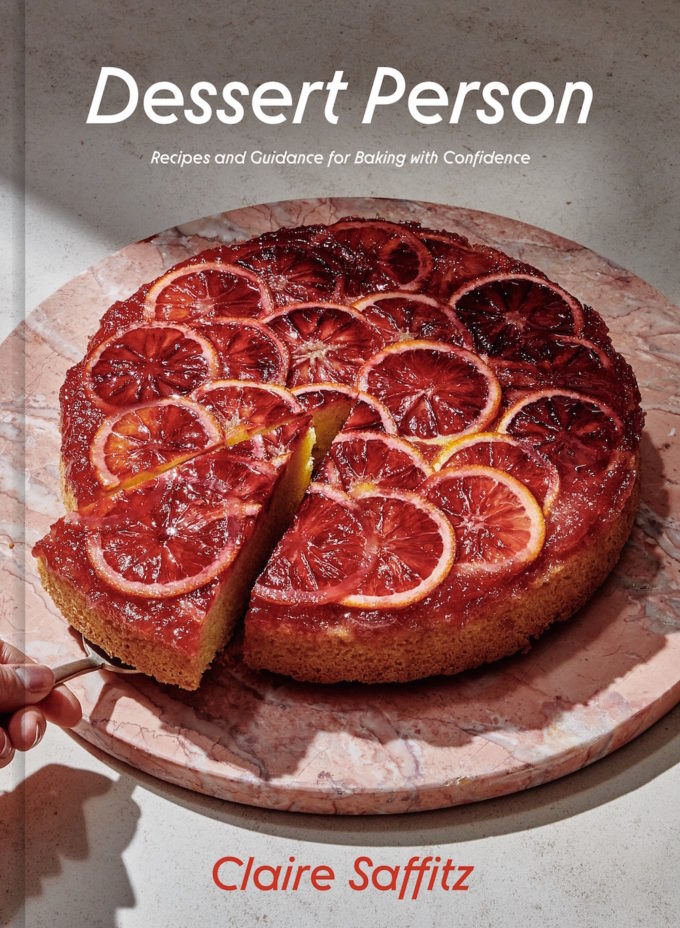
Known for her charismatic videos, crack recipes and iconic personal style, Claire Saffitz is the sort of detail-oriented person you want writing your go-to baking recipes. Her new cookbook, Dessert Person, is an instant classic with a retro sheen.
Claire recently joined us for a virtual cooking class and shared some of her baking insights and favorites.
1. What is the single most important thing you’ve learned by teaching people how to bake?
Watching people cook and bake from recipes is fascinating. I’ve learned that everyone interprets a recipe differently. Recipes from 50 years ago are written in a brief, descriptive style that assumes the reader has inherited knowledge and knows the meaning of terms like “fold” and knows when a cake is done. But most people don’t approach recipes with that knowledge base anymore, so I have learned as a recipe writer and developer to be very, very specific and explicit with my language. I am careful to explain both how to perform a step and why it’s important. This allows home bakers to learn and build those skills for themselves.
2. What dessert would most impress you were someone to bring it to your apartment for a potluck?
First of all, I am impressed by almost anything homemade. Just the fact that someone took the time and spent the effort to make something is an act of real care. But even more impressive to me is a simple dessert done well. In a dessert with fewer components, errors in technique or an imbalance of flavors have nowhere to hide. When someone makes a perfectly baked quickbread or a chewy, not-too-sweet brownie, I am impressed. Paradoxically, the simplest things can sometimes be the hardest.
3. What’s your favorite dessert to eat? To make?
My favorite dessert to make is undoubtedly pie. I love the process, and the steps are so familiar to me at this point that I rarely use a recipe. Muscle memory just takes over. I say in the book that making pie is my version of doing yoga. Generally speaking, I prefer fruit desserts, but there are times when all I am craving is a piece of layer cake with dense, smooth frosting and a light, bouncy crumb. That’s hard to beat.
4. What’s your favorite baking tool?
I say it all the time, but I cannot live without my mini offset spatula. It’s multipurpose and I am so accustomed to wielding one that it feels like an extension of my hand. Primarily I use it to smooth batter and frosting, but I also use it for lifting and cutting and scraping.
To give you a taste of her baking technique and one of her most beautiful creations, she shares the recipe for her Blood Orange Olive Oil Cake from Dessert Person here. Claire is a skilled culinary instructor and a cook with a unique understanding of complementary flavors and easily achievable techniques, so we can’t wait to get started baking our way through her book!
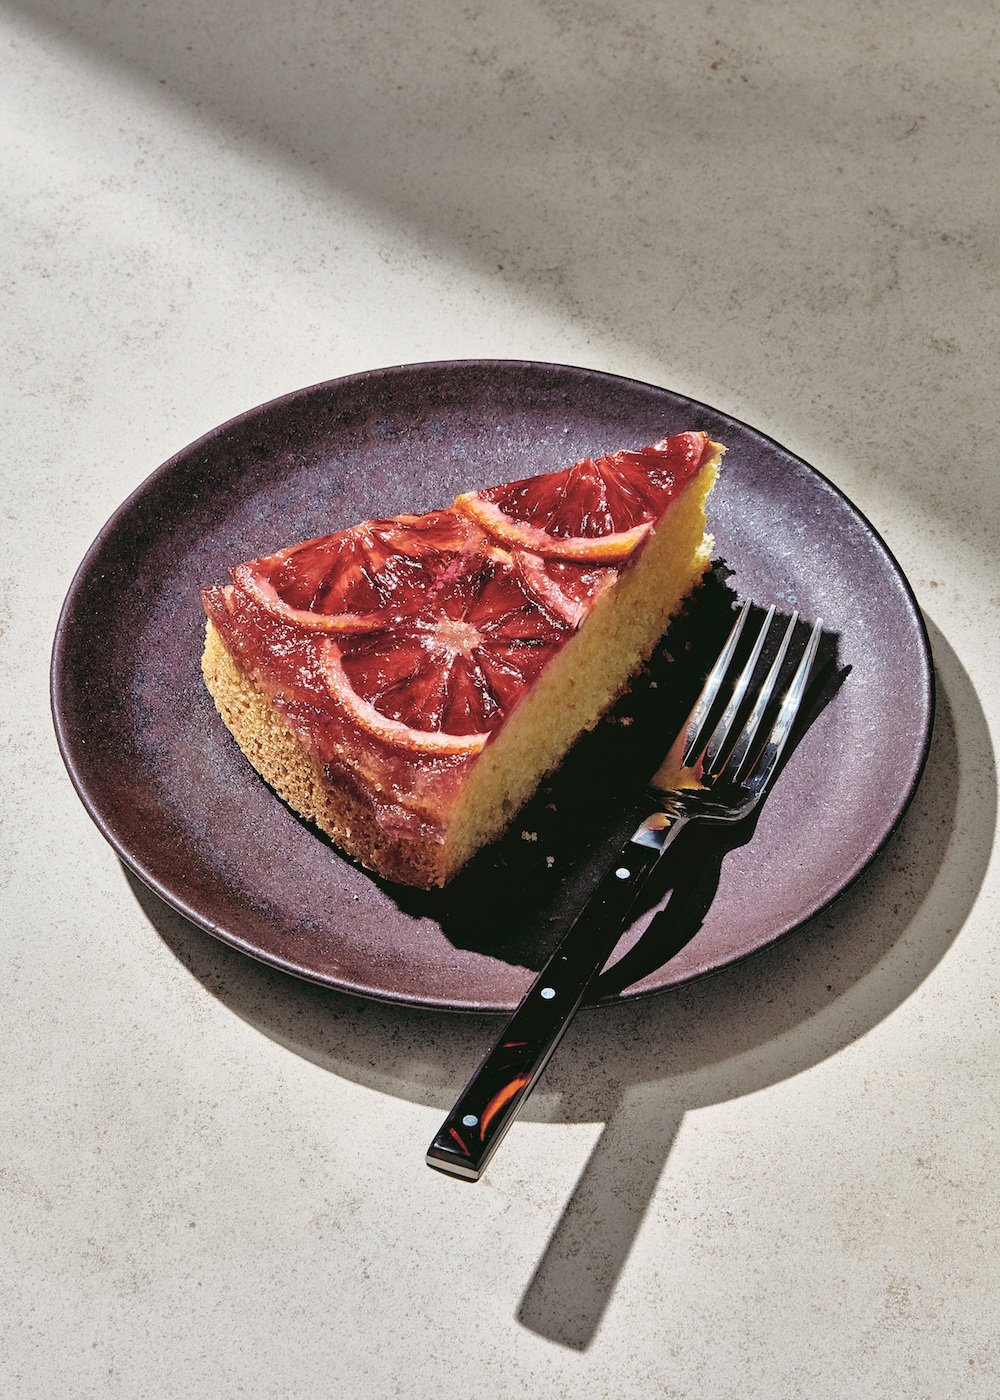
Blood Orange and Olive Oil Upside-Down Cake
Notes on the recipe:
• You can substitute other citrus for the blood orange, such as tangerines or honey mandarins. Just make sure that whatever you use has a relatively thin skin, as thicker-skinned fruit can make the whole cake too bitter.
• Try to slice the blood oranges as thinly as possible, or else the white pith will not fully soften during baking, not only leaving a bitter taste but also making the cake hard to cut. You want orange slices that are paper thin if possible.
• Take your time streaming the oil into the egg/sugar mixture to make sure they emulsify, which helps maintain an airy and even texture in the final cake. Too much oil too soon would overwhelm the eggs and cause the mixture to break.
You may have seen a blood orange upside-down olive oil cake before, and for good reason—they’re so pretty, and the bitterness of blood orange marries well with olive oil. This is my version, spiked with a little orange blossom water and Grand Marnier for extra orange flavor, and semolina for texture. Even though I like serving this with a little sweetened yogurt alongside, the cake itself is completely dairy-free. This allows you to safely “age” it on your counter, well wrapped, for several days since olive oil–based cakes improve in taste and texture the longer they sit.
Ingredients:
- Extra-virgin olive oil for the pan
- 4 medium blood oranges (about 1 1⁄2 lb/680g)
- 1 1⁄3 cups sugar (9.3 oz/263g)
- 1 1⁄3 cups cake flour (5.5 oz/156g)
- 1⁄2 cup semolina flour (2.8 oz/82g)
- 2 teaspoons baking powder (0.28 oz/8g)
- 1⁄2 teaspoon Diamond Crystal kosher salt
- 3 tablespoons Grand Marnier (1.5 oz/43g)
- 1 tablespoon finely grated orange zest
- 1 teaspoon orange blossom water or vanilla extract
- 3 large eggs (5.3 oz/150g)
- 1 1⁄4 cups extra-virgin olive oil (9.9 oz/280g)
- Plain whole-milk yogurt, lightly sweetened, for serving
Instructions:
Preheat the oven and prepare the pan: Arrange an oven rack in the center position and preheat the oven to 400°F. Coat the bottom and sides of a 10-inch springform pan with oil. Line the bottom of the pan with a round of parchment paper and smooth it to eliminate air bubbles. Coat the parchment with more oil and set the pan aside.
Prepare the blood oranges: Position a blood orange on the cutting board so the “poles” are to your left and right and the fruit is resting on its side rather than upright. Use a sharp knife to cut off one of the poles, exposing a colorful round of fruit. Then slice the fruit as thinly as possible through the widest part, shaving off rounds that are no thicker than 1⁄8 inch. 3 Reserve the ends for squeezing juice. Remove and discard any seeds from the slices and repeat until all the oranges are sliced (you should have 25 to 30 slices total). Squeeze the reserved ends of the blood oranges into a medium bowl until you have 2 tablespoons of juice (save any remaining fruit for juicing or another use).
Build the upside-down layer in the pan: Add 1⁄3 cup of the sugar (2.3 oz/ 66g) to the bowl with the juice and whisk until you have a smooth slurry. Pour the slurry into the bottom of the prepared pan and tilt in all directions to spread across the parchment. Arrange the orange slices in an overlapping pattern across the bottom of the pan and set aside.
Mix the dry ingredients: In a medium bowl, whisk the cake flour, semolina, baking powder, and salt to combine and eliminate any lumps.
Mix the wet ingredients: In a small bowl, stir together the Grand Marnier, orange zest, and orange blossom water and set aside.
Beat the eggs and sugar: In a stand mixer fitted with the whisk attachment (or in a large bowl if using a hand mixer), beat the eggs and the remaining 1 cup sugar (7 oz / 200g), starting on low to break up the eggs and gradually increasing to high, until the mixture is very light, thick, and pale, and it falls off the whisk or beaters back into the bowl in a slowly dissolving ribbon, about 5 minutes (with a hand mixer, this will take several minutes longer).
Beat in the oil: With the mixer still on high speed, gradually stream in the oil and beat until fully incorporated and the mixture is even thicker (it will be slightly reduced in volume).
Alternate adding wet ingredients and dry: Reduce the mixer speed to low and add the flour mixture in 3 additions, alternating with the Grand Marnier mixture in 2 additions, beginning and ending with the dry ingredients. After the final addition of flour, stop the mixer and use a large flexible spatula to fold the batter several times, scraping the bottom and sides of the bowl to make sure it’s evenly mixed.
Fill the pan and bake: Gently pour the batter over the blood orange slices, making sure not to disturb them, and smooth the top. Transfer the cake to the oven and immediately reduce the temperature to 350°F. Bake until the top is golden brown, the center is firm to the touch, and a cake tester or toothpick inserted into the center comes out clean, 35 to 45 minutes.
Cool and unmold the cake: Transfer the pan to a wire rack and let the cake cool for 15 minutes. Run a thin knife around the edges of the cake and remove the outer ring (be careful, as some of the juices from the cake might run). Invert the cake onto a wire rack and remove the circular base. Carefully peel away the parchment and let the cake cool completely. For the best flavor and texture, wrap the cake in plastic and let it sit at room temperature for at least a day before serving.
Serve: Slice and serve with sweetened yogurt.
Reprinted from Dessert Person. Copyright © 2020 by Claire Saffitz. Photographs copyright © 2020 by Alex Lau. Published by Clarkson Potter/Publishers, an imprint of Random House, a division of Penguin Random House. Buy Dessert Person.

1 comment
[…] you’d like to see Claire Saffitz’s original recipe, you can see that here. I changed a of couple things, so the following steps will feature my adapted recipe measurements […]