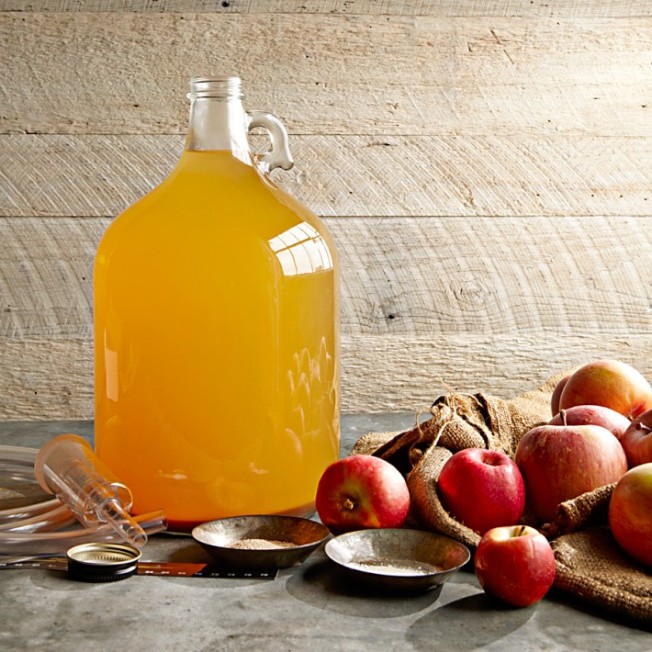
 The apple harvest is here! We’re baking these autumn gems into cakes and tarts and cooking them into applesauce, and today we’re sharing an exciting new project: hard cider.
It’s easy to create your own hard cider using our kit, developed for us by Elizabeth Ryan of Hudson Valley Farmhouse. Elizabeth has been selling out of her Breezy Hill Orchard ciders at farmers’ markets in New York for years. Once she began making hard ciders, fans started asking for the recipe. Now, here it is. Read on to find out how it’s done — then read our Q&A with Elizabeth and take a tour of her orchard.
Start with homemade or store-bought apple cider, follow these step-by-step instructions, and soon you’ll be enjoying your own delicious hard cider. Our kit has all the equipment you need, and you can reuse the tools repeatedly.
1. Put your gallon of cider in a glass fermentation jug. If your cider is very cold (if it’s been refrigerated), let it come to room temperature before adding the yeast.
2. Add yeast and shake vigorously. (One kit has enough yeast for five gallons, so save four-fifths of it for following batches.)
3. Insert a stopper and airlock in the jug. (This will allow your fermentation to progress happily and ensure that stray organisms stay out.)
4. Put water in the airlock. You will be able to monitor the progress of your fermentation by the bubbles you see created in your airlock.
5. Place the temperature strip on the side of your jug to monitor the temperature of the contents.
*Depending on the temperature and the starting sugar level, your cider will be ready in 10-21 days.
Fermentation will begin once the temperature approaches 50 degrees (check). The warmer the temperature, the faster the fermentation.
Taste after a couple of days (by removing and then replacing the airlock) and keep tasting until it strikes the right balance for your palate. We think it tastes the best when it becomes slightly effervescent and still retains some residual sugar. If you allow all the sugar to be eaten up (this is when the cider has stopped bubbling), it will be reminiscent of a Spanish cider, bone dry. Every 2 grams of sugar will produce 1 percent of alcohol, so if your cider starts at 12 percent sugar, and ferments all the way to dryness, you will have a 6 percent alcohol beverage.
When your cider has finished fermentation, you will notice a debris in the bottom of the the growler. This is a collection of dead yeast cells — after consuming the sugar and releasing the alcohol, the yeast cells die. They are perfectly harmless, and many traditional cider-makers consume the debris happily along with the cider.
Our kit also includes a siphoning tube so you can store the cider in smaller bottles for a more elegant presentation. Just place the receiving bottle at a lower level than the jug and use the tube to transfer the contents.
Your hard cider will keep in the refrigerator for weeks; the higher the alcohol, the longer it will last. You’ll be happy to have it on hand for holiday entertaining!
Learn more about apples in our guide.

3 comments
Too bad the link to “our kit” (the cider making kit) doesn’t work – just gets us to a W-S general shopping page!
I was soooo interested in this and was disappointed that when you clicked on the link you were directed to the general WS site. Too bad!
I get a jug of cider from our local apple farm and untwist the cap slightly and then just leave it on the counter for a few days until i see the sides slightly swelled and/or i see little bubbles/foam form. no special equipment required!