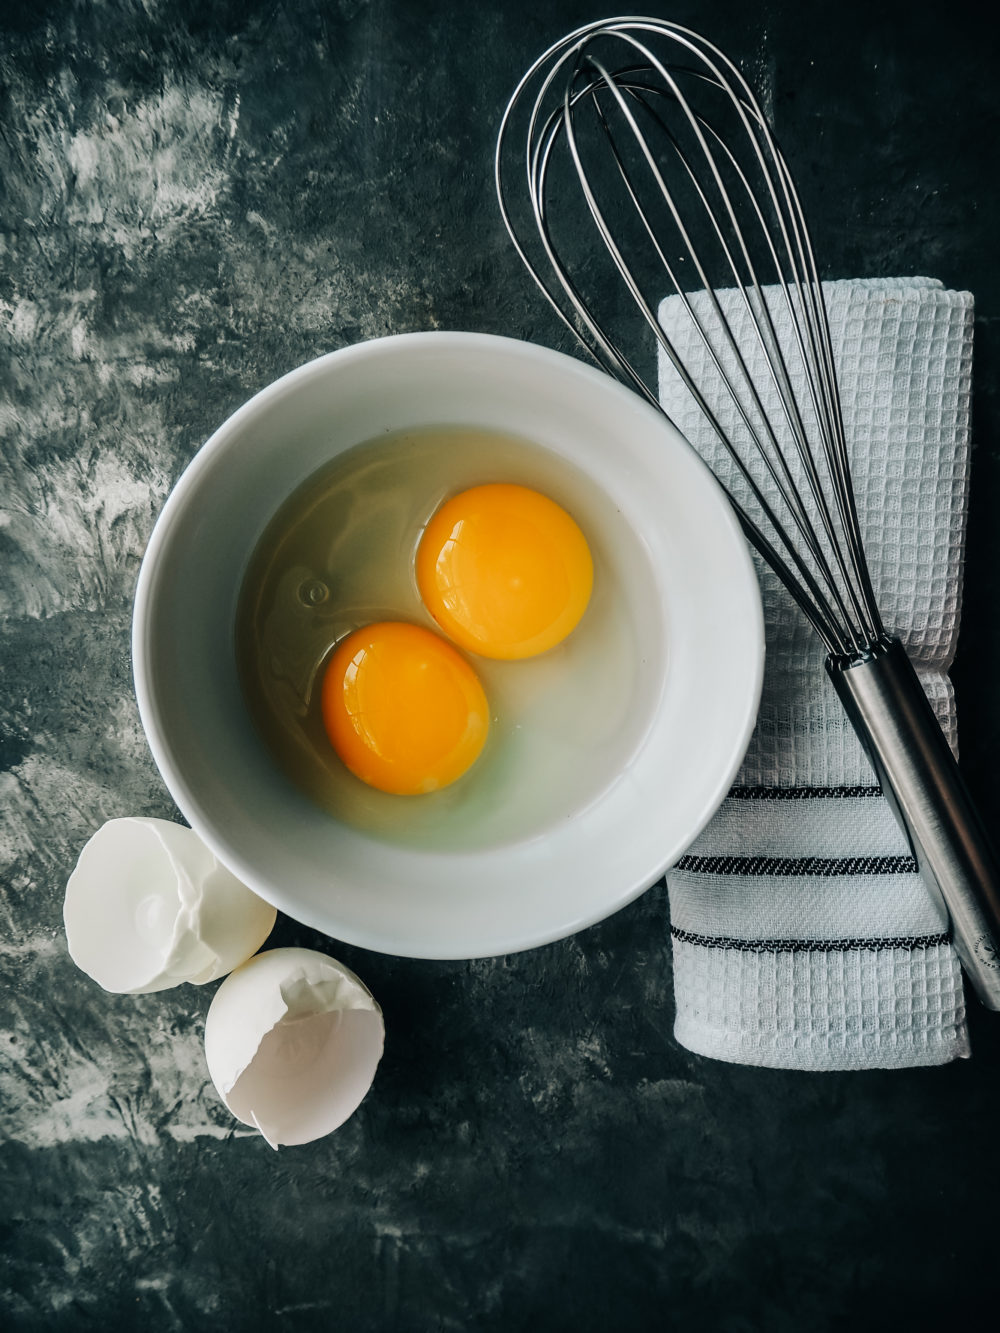
Most years other than 2020, the egg section of the supermarket can be a fairly overwhelming place. Brown shells and white, organic and free-range, AA and B. Where to start? (These days, depending on where you are in the country, you take what you can get!)
Some folks will want to go down the rabbit—er, chicken?—hole with the USDA’s egg manual, but for the rest of us, we just want to know what to look for, how that green egg is going to taste, and how long to store them. Plus, of course, a few techniques for cooking them beautifully. For egg recipes and cooking methods, we commonly consult Chuck Williams’ opus, Cooking at Home, as well as The Breakfast Bible cookbook—both of which offer several egg recipes and simple cooking options.
Where to Buy
OK, let’s start at the very beginning. If you have access to local eggs from a reputable farmer, consider them. There is nothing like the taste of a golden-yellow yolk from a nearby farm. If you’re at the supermarket, you want a place with brisk turnover. Repeat after us: The store off the highway in the middle of nowhere with no walk-in traffic may not be doing good egg business, if you catch our drift.
The Color
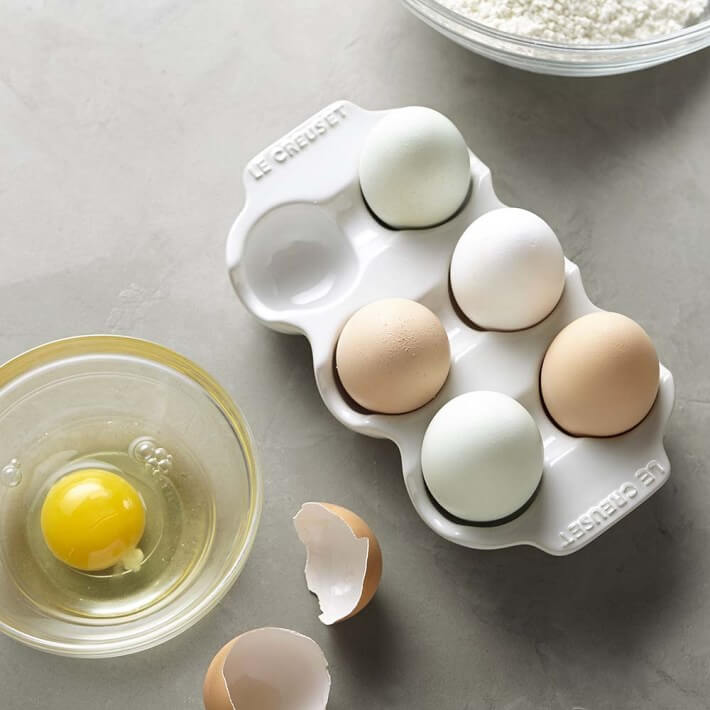
Different breeds of hens conjure up different colored eggs. They’re beautiful, but they all taste generally the same. Hue—whether green, yellow, brown, white or blue—doesn’t determine taste.
Size Matters
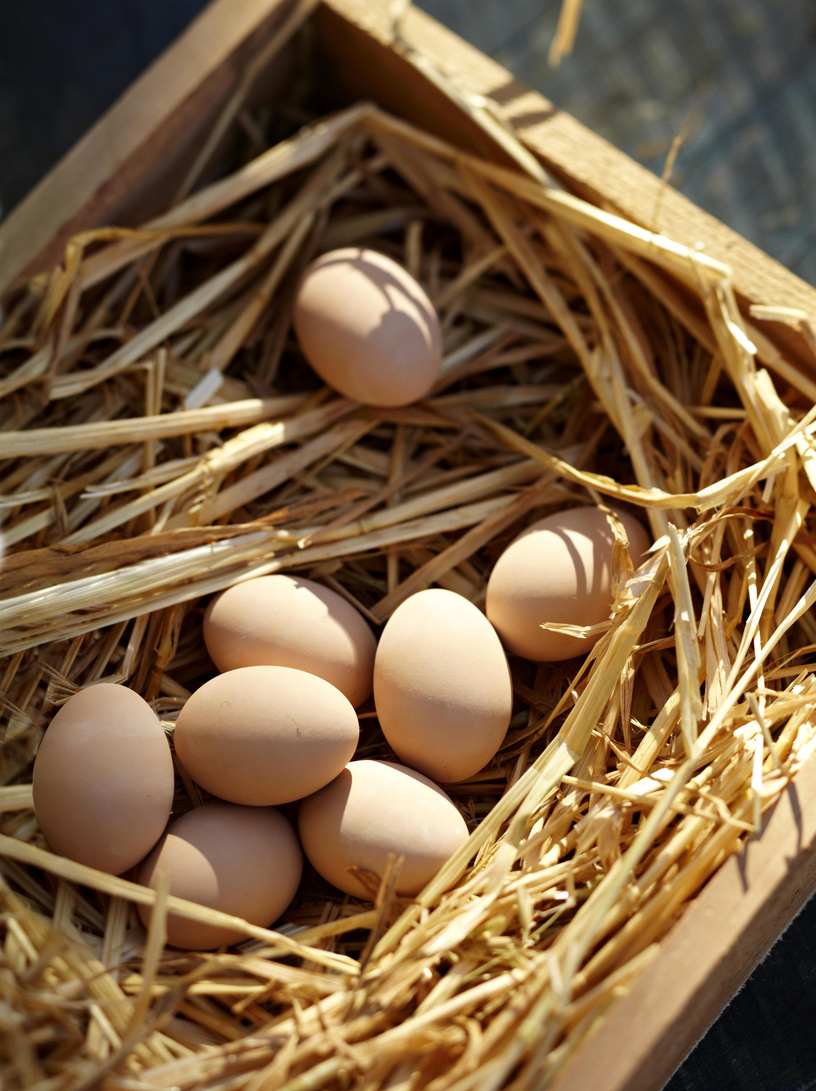
The USDA classifies eggs as AA, A or B, based on how the shell and interior look. (They use special lights to inspect the insides!) Only AA eggs boast uniform yolks and crackless shells, but it’s grade A you’ll most often spy in stores. Grade B is generally reserved for egg products; grade B is safe to eat but can denote eggs with blood spots or similarly unappealing qualities. And do note the size of the egg. If a recipe calls for large eggs, you want large, not medium, especially if it’s something a finicky as, say, a soufflé. Large eggs weigh on average two ounces each.
Check the Pack Date
If buying at the grocery store, look for the USDA shield. It should have a three-digit code, or “pack date,” on it. If you see “003,” it was packed on January 2nd. “362”? December 28th, or the 362nd day of the year. “Sell by,” “use by,” and “best by” dates are common, but not required by law. The former denotes eggs 30 days from their pack date; the latter two suggest a 45-day lag time.
“Certified Organic” Carries the Most Weight
Excited to bring home your cage-free, free-range or free-roaming chicken eggs? That’s great. But none of those terms are very well regulated by the USDA. “Certified Organic” is the one to look for if you care about these things. That suggests the hens were uncaged, had outdoor access and had an organic diet free from chemical additives.
Do Check for Cracks
Who cares what people think? Once you have snagged a carton, open the thing up and gently roll each egg to make sure each is crack-free. When eggs are running 50 to 80 cents apiece, you are gonna care if you get them home and have two broken ones! Look to see that they’re clean, too.
Storage 101
Keep these beauties in a cold part of the fridge, not in one of those specialized egg trays on the door. As is true of chicken, always be food safety–conscious when it comes to eggs, so keep them cold.
When you get home, store eggs in their carton on a shelf in the refrigerator, not in the egg tray inside the door. Cold air escapes every time you open the door; that’s not good for your eggs. They’ll keep several weeks, but remember: a good egg will sink. An OK-to-eat-but-vintage egg will hover. Bad eggs float.
OK, time to get eggy with it. Here are four basic techniques to enjoy these little gems today, plus shortcut gadgets that will make your cooking life a bit easier.
BOILING
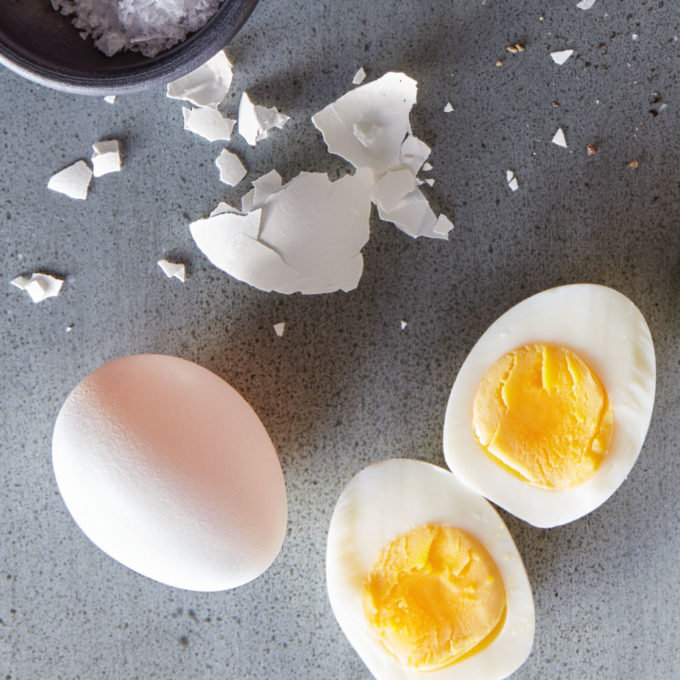
To boil eggs, fill a saucepan with enough water to cover the eggs and bring to a rolling boil over high heat. With a slotted spoon, gently lower the eggs into the water, then reduce the heat to medium-low. Simmer for 4 minutes for eggs with runny yolks, 6 minutes for medium-firm yolks, or 8 minutes for firm yolks. To peel hard-boiled eggs, transfer the eggs to an ice bath to stop the cooking. When cool enough to handle, remove each egg from the water, firmly tap against a countertop to crack the shell all over, then peel and discard the shell.
We have several tools dedicated to boiling eggs from sleek stainless steel egg toppers to electric egg cookers.
POACHING
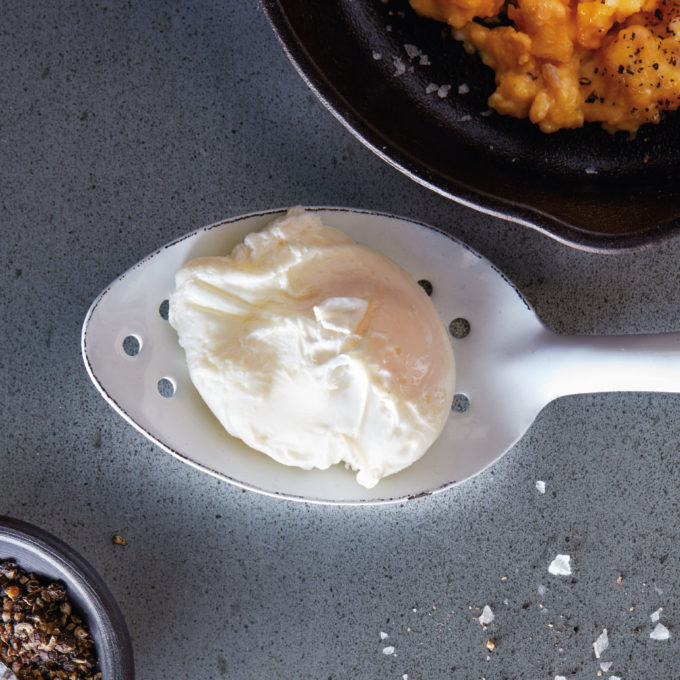
To poach eggs, half fill a large sauté pan with water and bring to a boil over high heat; reduce the heat to maintain a bare simmer. One at a time, break an egg into a small cup or ramekin, then gently slip the egg into the water. Allow to cook, basting once or twice with the simmering water and using a slotted spoon to keep multiple eggs separate, unto the whites are completely set and the yolks look glazed but are still soft, 3-4 minutes. Using the slotted spoon, transfer each egg to a cutting board and use a knife to trim the ragged edges of the egg white.
Egg poaching tools range from submergible rings to ladles.
FRYING

To fry an egg, heat a nonstick frying pan over medium heat and add about 1½ teaspoons unsalted butter or other fat. When the butter is melted and beginning to foam, crack the egg shell and carefully slide the egg into the pan. Reduce the heat to low and cook until the white is firm and the yolk has begun to thicken, about 3 minutes. For sunnyside up (an intact, runny yolk), tilt the pan slightly and with a tablespoon, baste the egg with a little of the butter before carefully removing it from the pan to serve. For over easy (a lightly set yolk) or over hard (a fully cooked yolk), carefully flip the egg with a nonstick spatula and continue cooking for about 20 seconds longer for over easy or 1 – 1½ minutes longer for over hard.
Egg fry rings can contain each egg into a neat circle, square or other shape.
SCRAMBLING
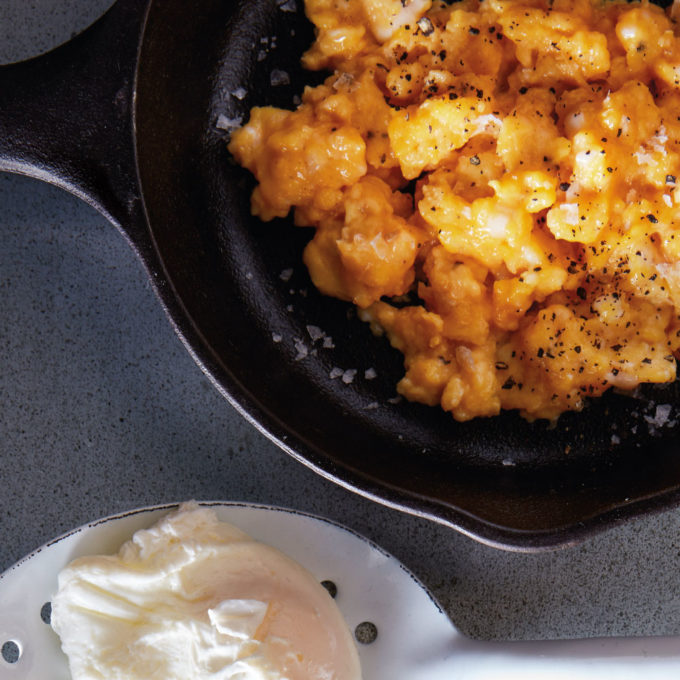
To scramble eggs, first break them into a bowl. Season lightly with salt and pepper. With a fork or a wire whisk, briskly beat the eggs until pale yellow and lightly frothy. Heat a nonstick frying pan over medium heat and add a little unsalted butter. When the butter has melted and is beginning to foam, reduce the heat to low and add the beaten eggs. As they cook, gently stir and scrape with a silicone or wooden spatula, pushing curds of cooked egg from the sides toward the center. Stir often for smaller curds, less often if you prefer larger curds. Cook until done to your liking, 4-5 minutes for soft, moist eggs, 7-8 minutes for firmer, drier eggs.
A good nonstick frying pan is the best tool to have on hand for scrambling eggs, though a dedicated egg scrambling spatula will make you feel like a true professional.
Hungry yet? Hundreds of egg recipes, right this way!

2 comments
via Everything You Need to Know About Eggs — Williams-Sonoma Taste
[…] via Everything You Need to Know About Eggs — Williams-Sonoma Taste […]