This post comes courtesy of Heather Libbey, blogger at DIY du Jour.
Whenever I purchase something, I usually cannot leave it be the way it came from the store. I’m always looking for a way to improve things aesthetically.
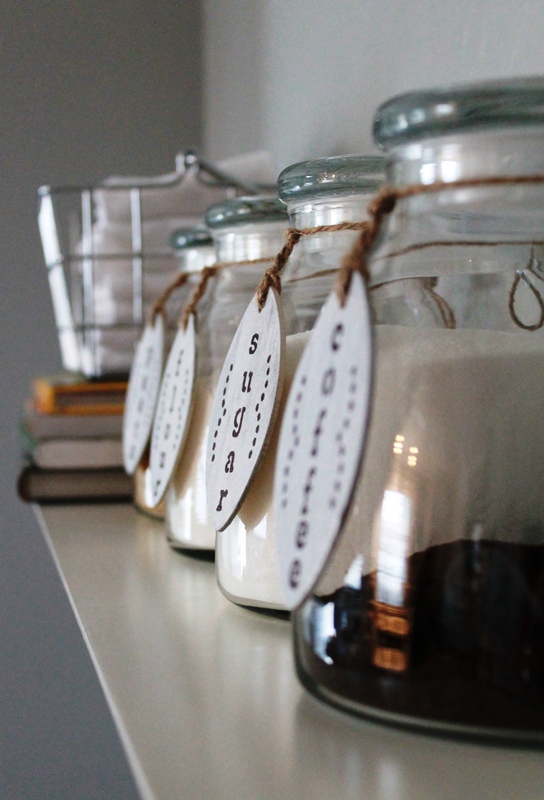
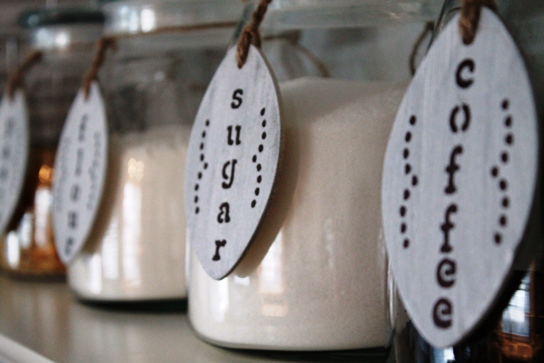
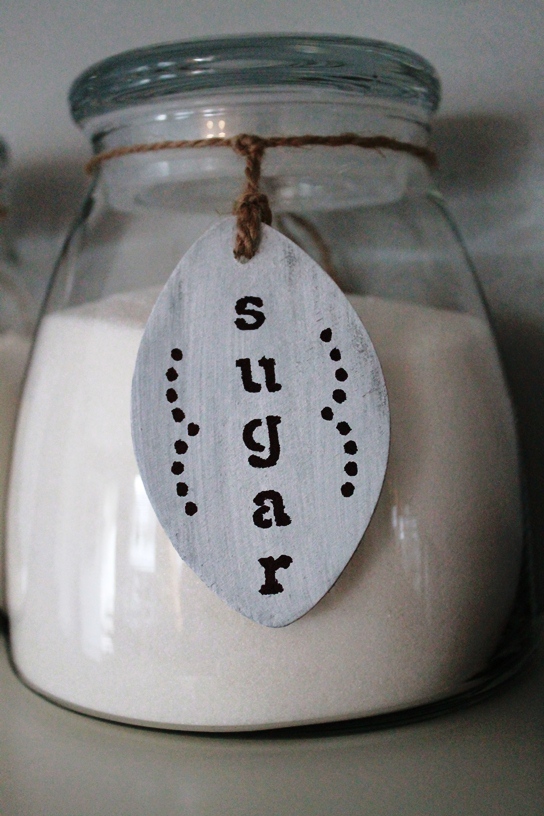
Here’s a perfect example: I bought some simple glass canisters to hold the usual contenders — flour, sugar, coffee and dry pasta. Of course, since the canisters are clear glass, their contents are obvious to anyone looking at them. But naturally, I had to take things a step further and dress them up a little bit with some rustic, wooden labels I created.
Now the canisters look “finished” to me. You can make these also! It’s simple, easy and will take no more than an hour, start to finish.
In addition to your canisters, all you need are a few basic supplies:
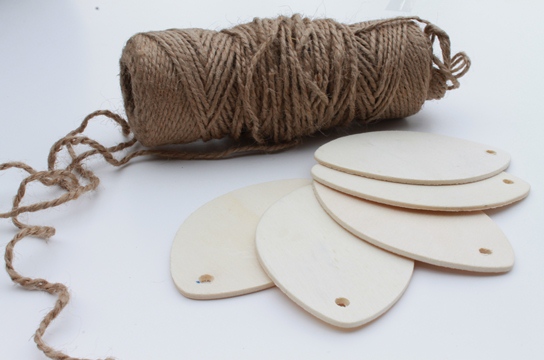
- Twine
- Gray spray paint
- White acrylic paint
- Pencil
- Black permanent marker
- Small letter stencils
- Pre-cut wood shapes (I found these for $0.29 each at the craft store)
- Power drill
Here’s the step-by-step guide:
Start by drilling holes in the wood pieces where you would like to attach your twine.
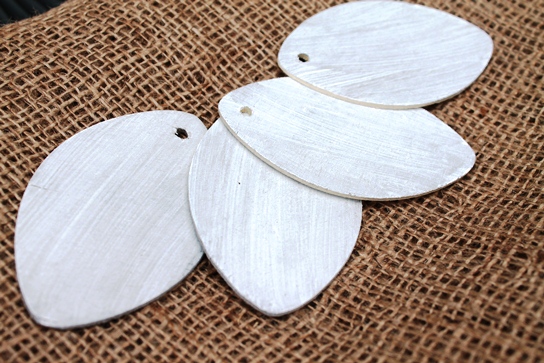
If you are trying to achieve a rustic or weathered look like mine, use the gray spray paint as a primer and give each wood piece a coat or two of paint. Let dry completely.
Next, use the white acrylic paint and lightly brush a coat on in one uniform direction, allowing some of the gray to show through and leaving some brush strokes visible. Let dry completely.
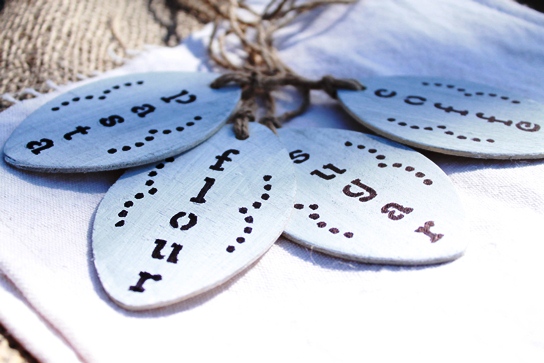
Use a pencil to lightly mark where you will stencil your letters. Then stencil the letters on with a small permanent marker where you lined them up, adjusting their position as necessary for even spacing.
Finally, cut some twine long enough to fit around your canisters, and attach it to the holes you drilled in the wood pieces.
Tie them around your glass canisters and enjoy their updated look!
About the author: Heather has always had a love for cooking and baking. Now she loves to plan meals for her family. She looks for ways for ways to make comfort dishes a little healthier without sacrificing flavor, but she also believes all things are fine in moderation and has recently started experimenting with making French pastries at home. She shares her tried recipes and other projects on her personal blog, diydujour.com. Heather is also a contributing author at thebakeryspot.com.

5 comments
This is one of the cutest ideas I’ve seen in quite a while. There are always kitchen items that seem to be out on the counter no matter how organized I try to be with storage. So, this idea is a GREAT SOLUTION to keeping all that counter clutter in some kind of order. Thank you to Heather Libbey for your creativity and imagination.
Such a cute idea!
Adorable! Thanks for sharing w/step by step instructions.
I bet my cats would have a field day with these little danglies!
i love this idea!!! looks great!