After this week’s conversation with Jennifer Shea, founder of Seattle’s Trophy Cupcakes and author of the new book Trophy Cupcakes & Parties, we’re feeling inspired to bake some cupcakes! Here, we’ve gathered our best tips and techniques for making your prettiest cupcakes yet, from piped designs to elegant garnishes. Ready to perfect your decorating skills? Invite your friends over, roll up your sleeves, and make this bake-a-thon a weekend activity.

PREPPING
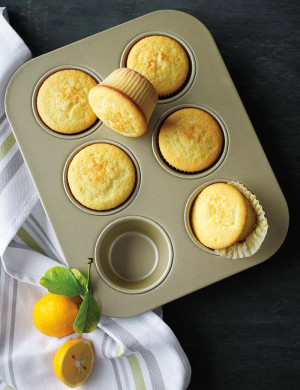
Before embellishing cupcakes with a filling or frosting, make sure they have cooled completely to room temperature — the slightest amount of heat can soften or melt the frosting. Whether in or out of the muffin pan, the best way to cool your cupcakes is on a wire rack, which allows air to circulate all around them so that they cool quickly.
Once they’re cool, cupcakes can be hollowed or cored to make space for a flavorful filling. Using a paring knife inserted at an angle and a gentle sawing motion, rotate the cupcake, trimming out a cone-shaped piece about 1 1/2 inches in diameter and about 1 inch deep. Discard the cores (or keep them for nibbling)!
Toolkit: Williams-Sonoma Goldtouch Muffin Pan, Goldtouch Nonstick Cooling Rack, Wusthof Paring Knife
FROSTING
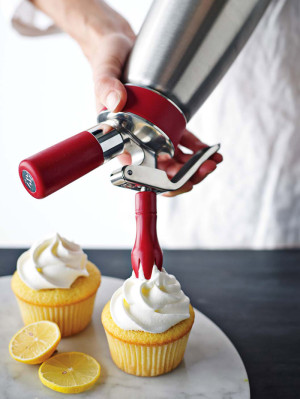
Frosting a cupcake is as simple or as involved as you want it to be. If you’re going the simple route, here’s our foolproof tip: top the cupcake with whipped cream using an easy-to-use dispenser fitted with a decorative tip. No mixing required!
If you do want to frost your cupcakes, you can use an icing spatula or a spoon to achieve the desired effect. Just dollop a generous amount of frosting onto the center of the cupcake, then use the tool to spread it. The icing spatula is thin and flat, great for creating smooth, refined surfaces; the backside of the tip of the spoon can create fun swooshes and swirls.
Toolkit: iSi Gourmet Whip, Mini Offset Stainless-Steel Spatula

PIPING
With a pastry bag and tip, it’s easy to pipe bakery-worthy designs. Practice by piping designs onto a clean plate (you can reuse the frosting), and start with buttercreams and cream cheese frostings — they’re the most forgiving.
To cover the top of the cupcake, you can use a plain tip, star tip or leaf tip. A plain tip creates a clean and simple design; a star tip creates a decorative fluted swirl of frosting. A leaf tip can be used to create a ruffled ribbon-like effect. See our step-by-step guide for each technique. You can also use tips to create fanciful designs like dots (with a plain tip), stars (star tip) and ribbons (basketweave tip). Learn how to pull it off here.
Toolkit: Ateco Pastry Bag Decorating Kit
DECORATIONS & GARNISHES
Don’t forget the finishing touches! Gently press colorful candies into the frosting on top of your cupcakes for an easy embellishment, or make chocolate curls (gently warm a block of chocolate by microwaving it for 5–10 seconds, then run a vegetable peeler along its length).
For a truly fancy touch, make sweet caramel designs. Line a baking sheet with parchment paper or a nonstick baking mat, then cook 1 cup of sugar in a heavy saucepan over medium-high heat until amber in color. Working very carefully, use a spoon to drizzle the caramel in designs onto the prepared baking sheet. Let the caramel cool, then carefully peel off the pieces.
Toolkit: Williams-Sonoma Spring Decorating Kit, Open Kitchen Single Peeler
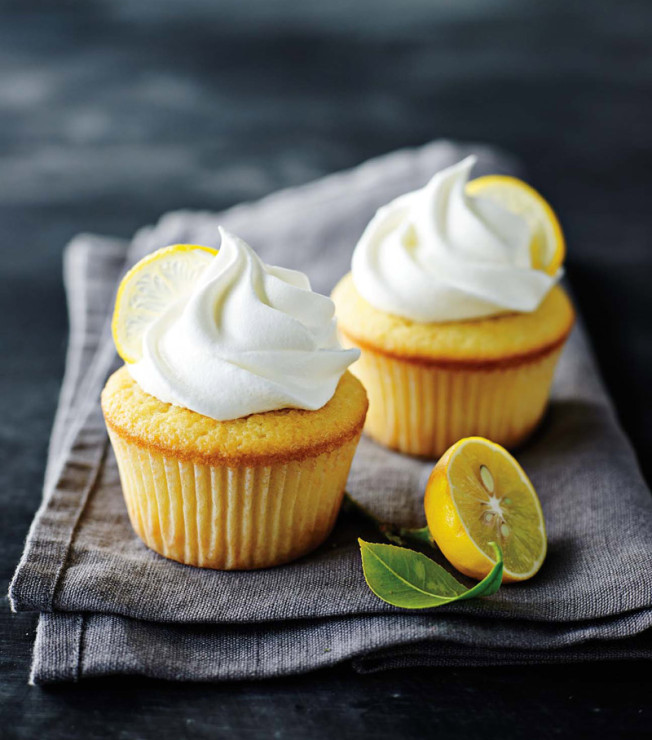
Featured Recipe: Double Lemon Cupcakes with Whipped Cream


3 comments
Lame! A “recipe” of cake mix and lemon curd from a jar? What is this, “Good Housekeeping, 1950s?” I expect better from WS!
Interested in preteen junior chef classes 🙂
[…] Weekend Project: Make Your Best Cupcakes Ever After this week’s conversation with Trophy Cupcake founder Jennifer Shea, we’re feeling inspired to bake some cupcakes! Here, we’ve gathered our best tips and techniques for making your prettiest cupcakes yet, from piped designs to elegant garnishes. […]