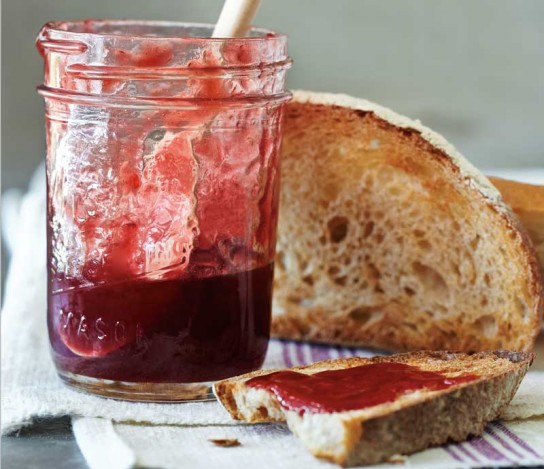
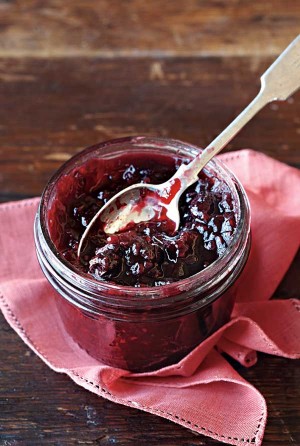
 The term “home canning,” despite the implied use of cans, refers to preserving foods in specially designed glass jars. An age-old art, preserving allows you to capture the essence of fruits and vegetables at their flavorful prime — and enjoy that freshness year-round.
To make them safe for long-term shelf storage, jars of high-acid foods, like fruit preserves and pickled vegetables, should be processed in a boiling-water canner. Boiling the filled jars in boiling water eliminates potential contaminants and establishes a tight seal so new contaminants can’t be introduced.
Preparing the Jars & Lids
Wash jars, lids and screw bands well in hot soapy water, either by hand or in a dishwasher. Place the lids in a small saucepan with water to cover, bring to a simmer (180 degrees) and maintain the simmer until you are ready to use them. Avoid boiling the lids.
If the recipe processing time is 10 minutes or less, jars must be sterilized in the boiling-water canner before they are filled. To sterilize them, fill the canner pot two-thirds full of hot water. Fill the jars with hot water and, using a rubber-coated jar lifter, lower the jars, one at a time, onto the rack in the water-filled pot, making sure they are covered by at least 1 inch of water. Bring the water to a boil over high heat and boil for 10 minutes. Turn off the heat and leave the jars in the hot water. Remove them with the jar lifter and dry as needed. Keep jars warm until you’re ready to fill them.
Insert the rack into the water canner and fill the canner about two-thirds full with water. Bring the water to a boil over high heat.
Working with one warm, dry jar at a time, place a funnel over the opening. Depending on the recipe, use a ladle, slotted spoon or other utensil to fill the jars, leaving the amount of headspace called for in the recipe. Run a thin nonmetallic spatula or a chopstick around the inside edge of the jar to release any air bubbles trapped inside, then adjust the headspace if necessary. Wipe the rim with a clean, damp cloth.
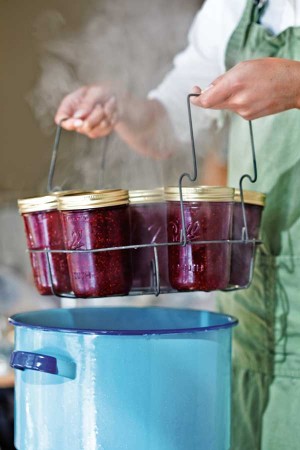
Use nonmetallic tongs to remove a hot lid from the simmering water and dry with a clean kitchen towel. Top the jar with a dry, warm lid. Then screw a band over the lid just until it is secure. Immediately arrange the jars in the canner without letting them cool. Make sure the jars are covered by at least 2 inches of water. Cover the pot with the lid and begin timing the processing after the water has returned to a rapid boil.
When the time is up, use the lifter to remove the jars from the boiling water and place them on a kitchen towel or rack to let cool completely.
Testing the Seal
When the jars have cooled completely, test the seal by gently pressing on the stop of each lid. It should be taut and rigid to the touch and slightly indented. If the lid bounces back and makes a clicking noise when you press it, the seal is not good.
 To test it further, unscrew the band and gently lift the lid with your fingertips. If you are able to pick up the entire jar by holding the edges of the lid, the seal is good. If the lid slips easily from the jar rim, the seal is insufficient. Store any jar that does not have a good seal in the refrigerator for the time specified in individual recipes.
Storing
Most jars with proper seals can be stored for up to 1 year. Label the jars with their contents and the date on which they were sealed and then store in a cool, dark place. Each time you open a new jar, check the contents for signs of spoilage; be wary if the aroma is especially sour or musty and dispose of any with mold or discoloration.


6 comments
Me too – please elaborate on how the instant pot can be used for canning preserves.
I followed this link because it said you could can something using the sterilize funciton on the instant pot.
Could we get instructions that modify this to be used for the instant pot?
Thanks!
Hello, These photos are great – do you know who took them, or where they came from? I’m especially interested in the shot with the cans and the pot. Thanks!
Hi Reyna, I asked our Williams-Sonoma Test Kitchen for their thoughts, and this was their response:
I don’t think it’s generally advisable to make preserves days ahead of filling and processing the jars. Once the jam is cooked to the proper consistency, it should be quickly ladled into the hot sterilized jars while the jam is still hot. To allow the jam to cool and then be reheated several days later might cause the jam to overcook, overthicken, or possibly burn.
If you’ve already made the jam and for some reason don’t have the time/means to properly process them in a water bath, another option is to fill the jars with the jam anyway, and store them in the fridge (the shelf life will be much shorter– a couple of weeks?). This works well with small batches of jam (and reduces the need to break out the water bath if you plan on finishing the jam quickly).
Hope this helps!
Does the filling have to be recently made or can you prepare it like two days before?
DO YOU SELL THAT KIND OF WIRE BASKETS TO PUT THE JARS INTO THE BOILING WATER?
sincerely
CLAUDIO B ROMAN