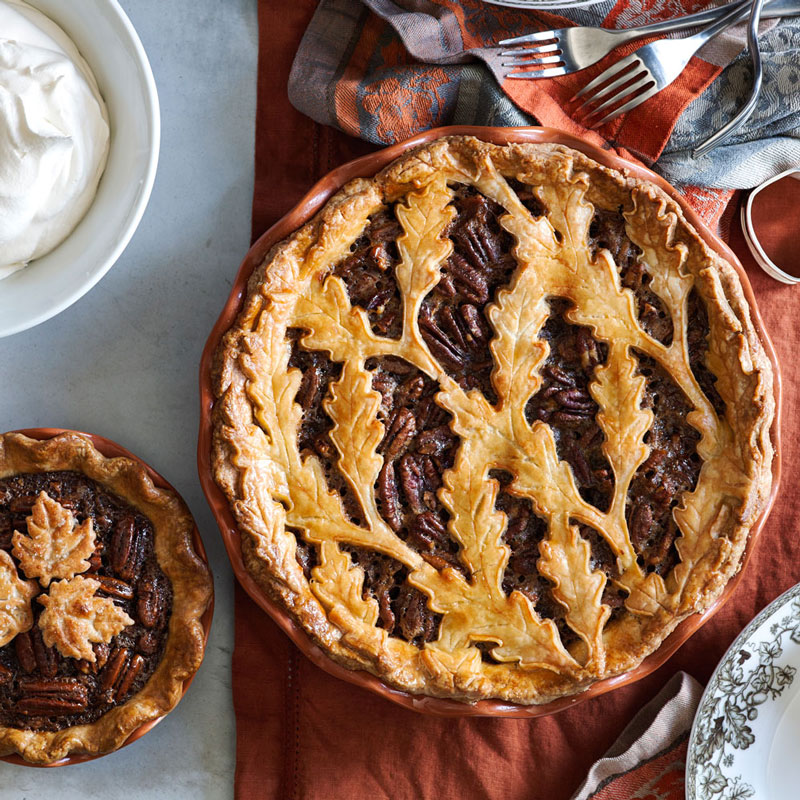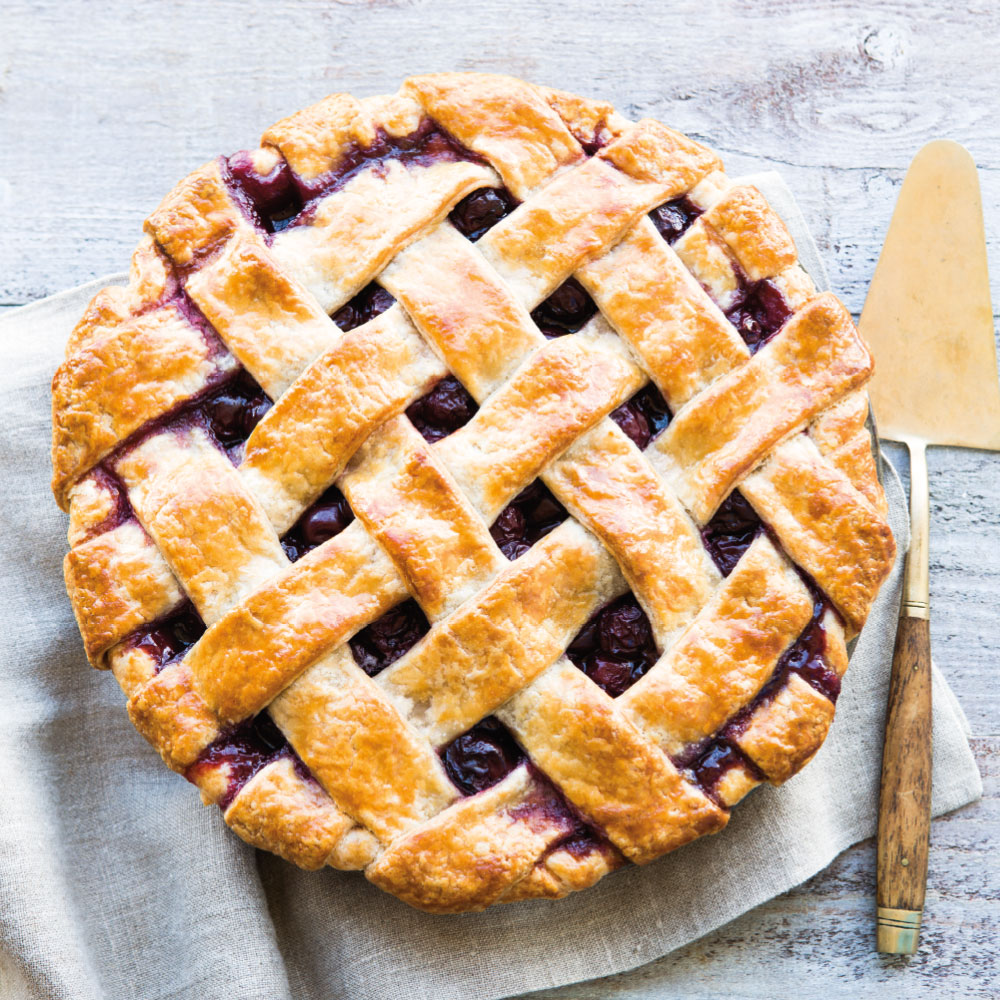
Are you ready for this? It’s pie season. Some of you are reading this, already coated in flour, with your digital scale and your sugar close at hand, champing at the bit. Others are hemming and hawing and wondering whether to stick to savory all season long.
Look: The apples are glorious right now, sweet and ripe and ready to be transformed. Great pies are as simple as making extra dough, having at least one good pan, and having a few key tricks up your sleeves. Here they are, from our test kitchen sweet tooths (er, cooking professionals).
1. Bank On Enough Time
You know what makes us (occasionally) hate baking? Not having enough time. When you skip the flouring, the rolling, the chilling, the karaoke-ing to Van Halen alone in your kitchen (just us?!), your baking is less Zen. Build in time, and enjoy baking more. It’s honestly that simple.
2. Keep That Butter On Ice
We know, we know. You’ve heard this one before, and it’s just getting annoying. But you want that butter super-cold, if not frozen. You’re not mashing it into flour with warm hands, either. Which brings us to…
3. Use the Cheese Grater
One of the many great tips in this genius video is to use your cheese grater on frozen butter. That’s how you get equally sized, cold bits of butter that will incorporate evenly and quickly into your dough.
The cheese grater technique eliminates the need for a pastry blender; a table fork is all that’s required to efficiently mix grated cold butter into a flour mixture. Keep your hand light. The flakiest pastry will result from a dough that still has small chunks of cold butter visible.
4. Do Use Egg Wash
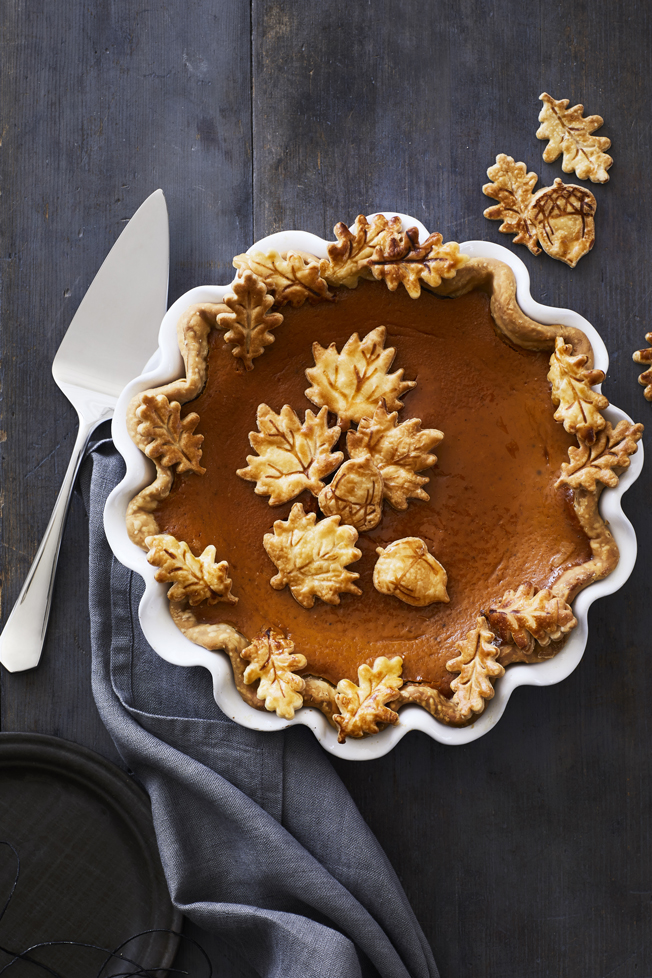
The key to a pie as pretty as this picture? Egg wash. Don’t skip it when it comes to brushing the edges of your crust and any pretty little cutouts you had in mind.
5. Spend the Time on a Lattice or Cutouts
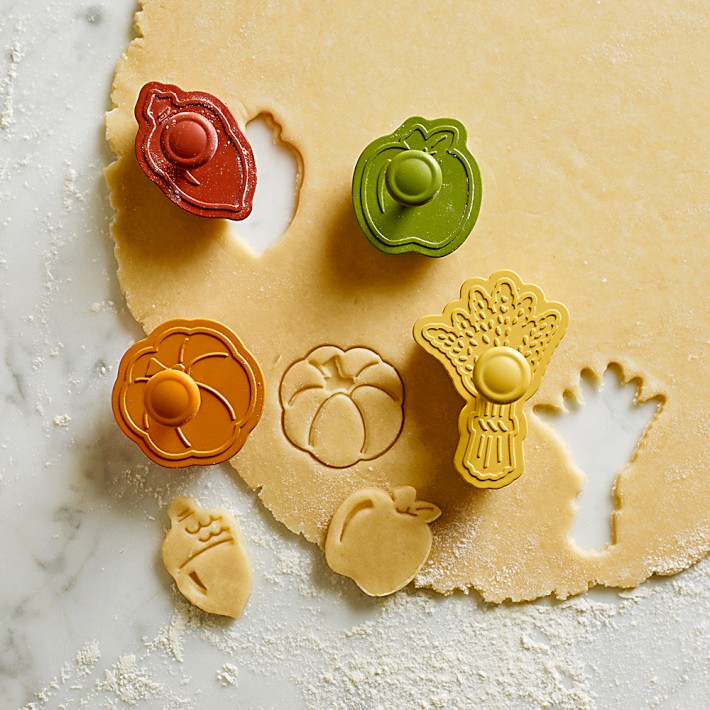
We break this down really simply in the video below: Making a lattice crust or creating cutouts is not that hard. You just need the gear and the know-how.
6. Make Extra Pie Dough
Making the dough, from chilling to rolling, does take a bit of time. So why not make extra and stash it in the freezer? We’ve got the recipe you need. Extra pie dough for future projects is like having money in the bank—especially when you’re adding cut-outs to the mix.
7. Use That Scale
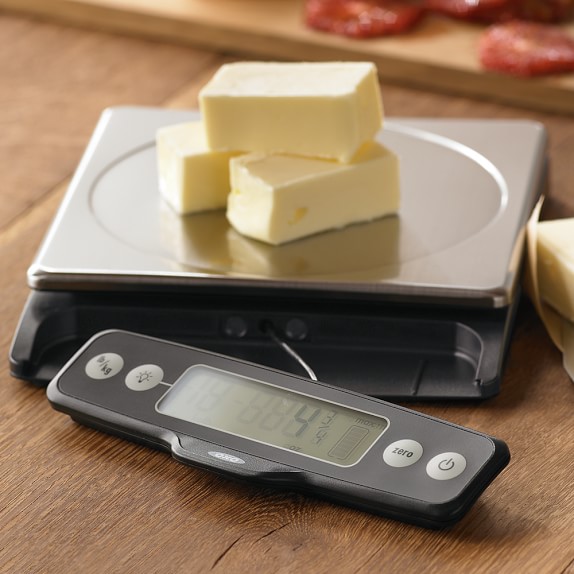
You hate the mess. Everything is covered in flour. You know what your friends who love to bake don’t tell you? They lean on their digital scale. When a recipe is in grams, simply put the bowl you’re using on the scale, and measure out the flour, sugar, baking soda, baking powder, and salt using it. Tare (zero) out the measurements in between.
8. Use Ice Water!
When we say to use ice water, do it! It makes so much more sense from a science/ water evaporation perspective when it comes to fluffier biscuits and more tender pie dough.
9. Blind Baking Works
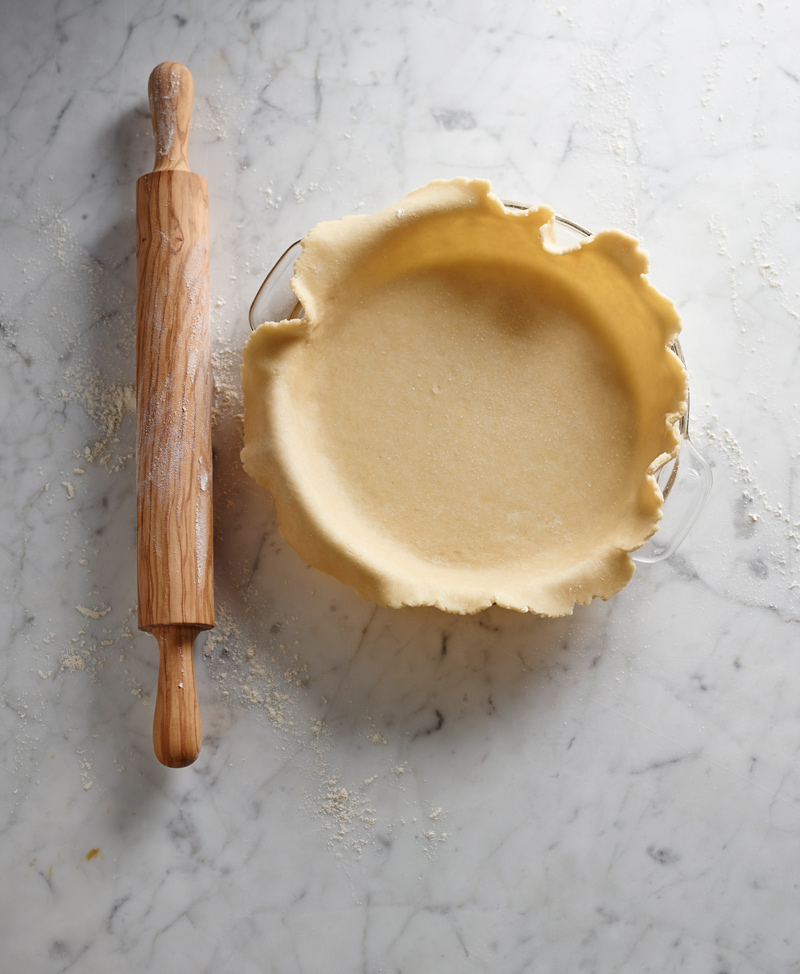
Dried beans or pie weights are your friend, guys. Blind baking your pie crust before filling it ensures a bottom crust that every bit as crisp and flaky as any crust that you might bake on top. “Blind baking” is not as complicated as it sounds; it’s just a matter of pre-baking the bottom crust before filling it. To keep the exposed pastry from billowing in the oven heat, simply line your pastry-lined pie shell with foil and beans or weights, bake until the pastry is dry to the touch, then uncover and bake until just golden. You can see how to do it here.
10. Remember That Crust Can Shrink
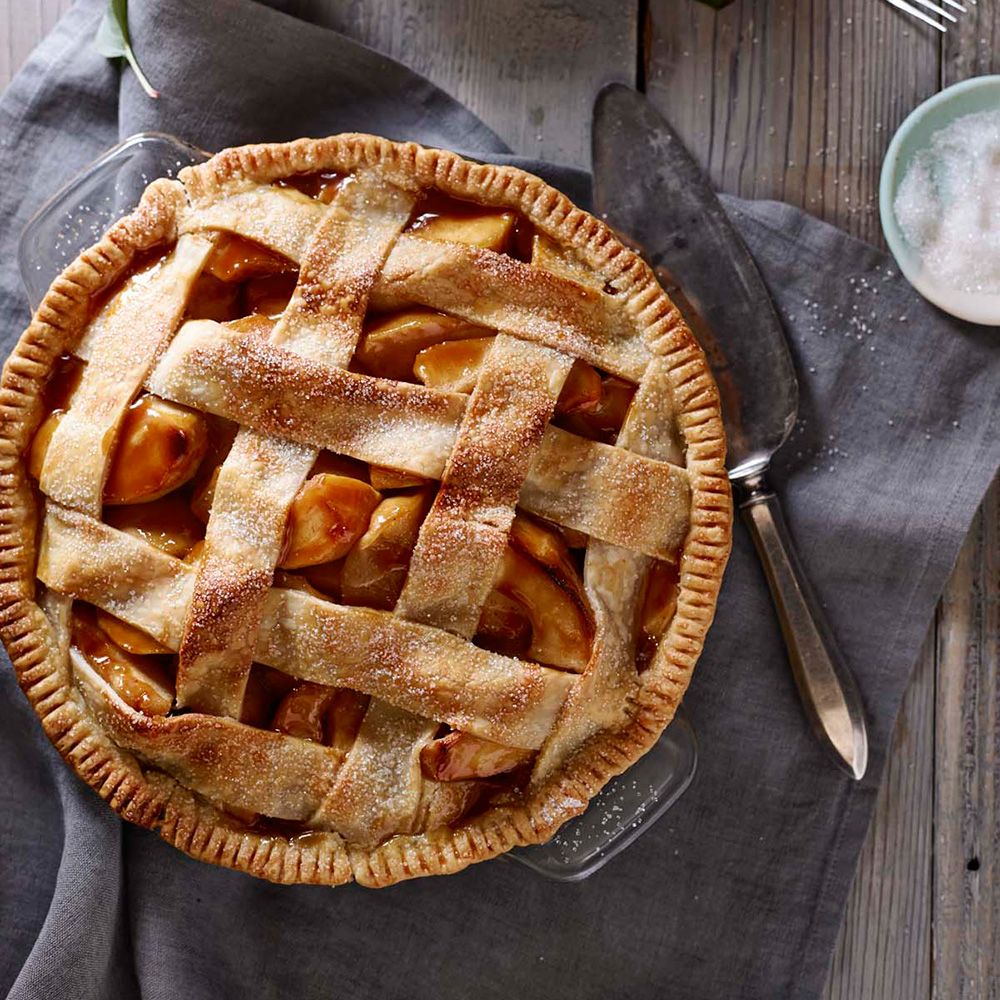
Pie crust can shrink during baking, as the water in the dough evaporates. Our suggestion: You can build up pie filling, such as that in this gorgeous salted caramel apple pie, above the level of the pie pan. It’ll shrink a little bit. If you’re worried about leakage, look to your sheet pans.
OK? OK. Now ready the lattice cutter, the cutouts, the pie pan, the tart pan with removable bottom, and any T Day shortcut goodies you need, and get baking! Why not make practice pies just for you as you gear up into fall? Getting good at something sure can be delicious.

