If you’re anything like us, your dry storage “system” leaves something to be desired. We don’t want to admit that we use chip clips to secure sticky bags of marshmallows, then plop them in an unused Instant Pot and forget about them. (But it’s possible that, uh, in a past life we did that.)
Here to save us from our dodgy choices is our new Hold Everything home organization line, for which we’re partnering with organizing expert Shira Gill. The author of Minimalista has a crack five-step system for tackling perennial home headaches like the junk drawer, snack stations, and now, dry storage. Her other top strategy: Break everything into what she calls a “15-minute win.” Organizing your home will seem less daunting if you break it down into manageable parts.
Here’s how Shira’s system (and our hot new line) works for dry storage. Give it a shot!
1. Clarify
First things first: What are your goals? Are you going to start, as Shira suggests, shopping the bulk bins at your local grocery, or maybe even bringing your own cloth bags? (As she explains in her book, she’s big into sustainability.) What does your family eat the most? Tall, curly dried pasta noodles? Short, squat beans? We’ve got the goods for all of those items, but you’ll want to think about where things will go and what your goals are. (Will you store baking items separately from cooking items? How do you want things to look?)
2. Edit
Now is the time to part ways with that sticky bag of marshmallows. (Sorry!) If there’s anything expired, toss it. If it’s in good shape but you know you’ll never cook with it, donate it. As Shira explains in Minimalista, there’s no need to organize what you don’t need: That’s time, wasted.
3. Organize
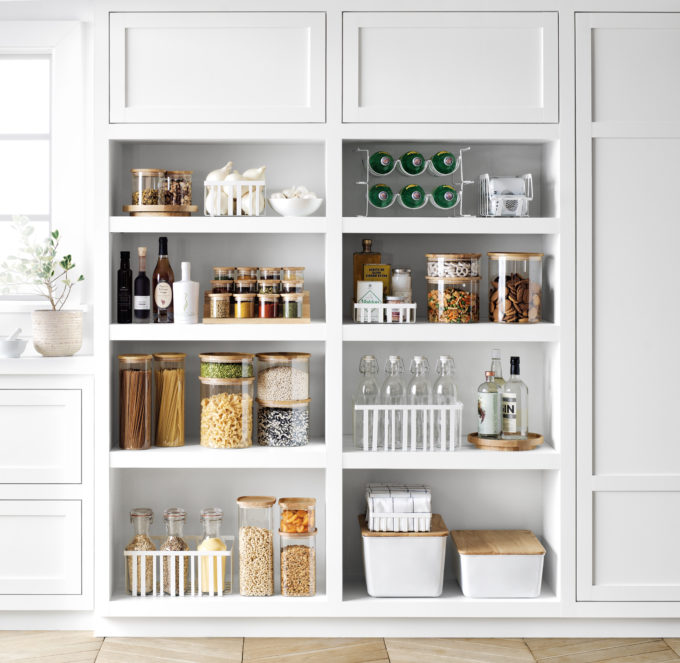
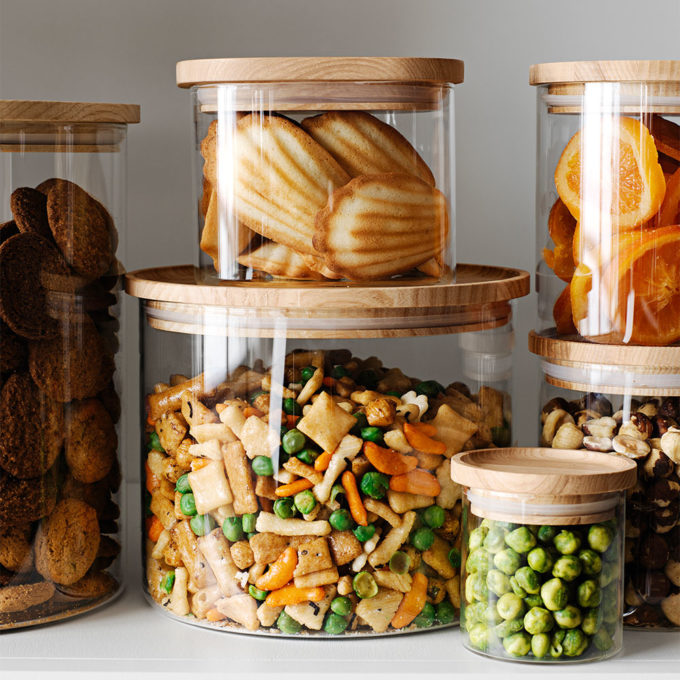
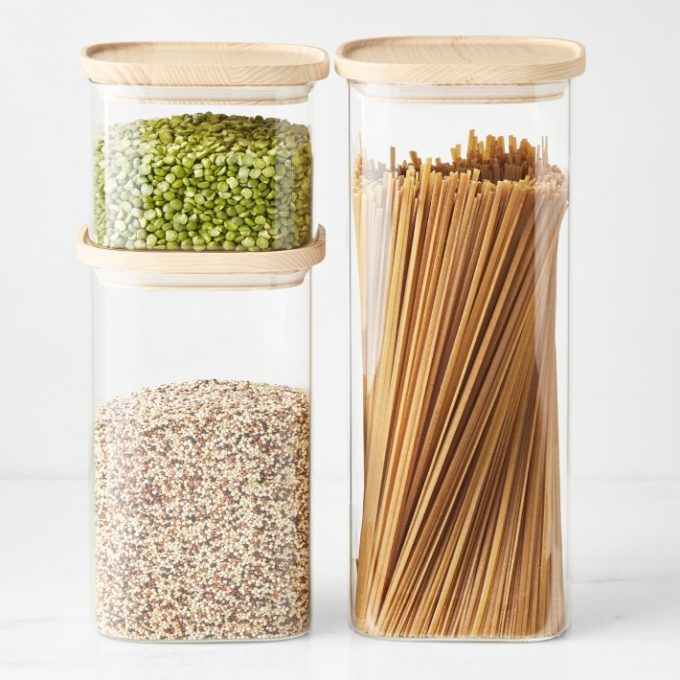
OK, start sorting so you can figure out what purchases you need to make. “Make your own customized categories to suit your wellness goals and lifestyle,” suggests Shira. “Use labeled bins to create a smoothie station, a family breakfast zone, or a gluten or dairy-free station for family members that need to avoid certain foods.” (So smart.) You’re going to want to decant cookies, chips, grains, beans and dried pasta into clear jars. Set aside the backstock. (See below.) And be sure those jars are airtight so dry storage can stay fresher, longer.
4. Elevate
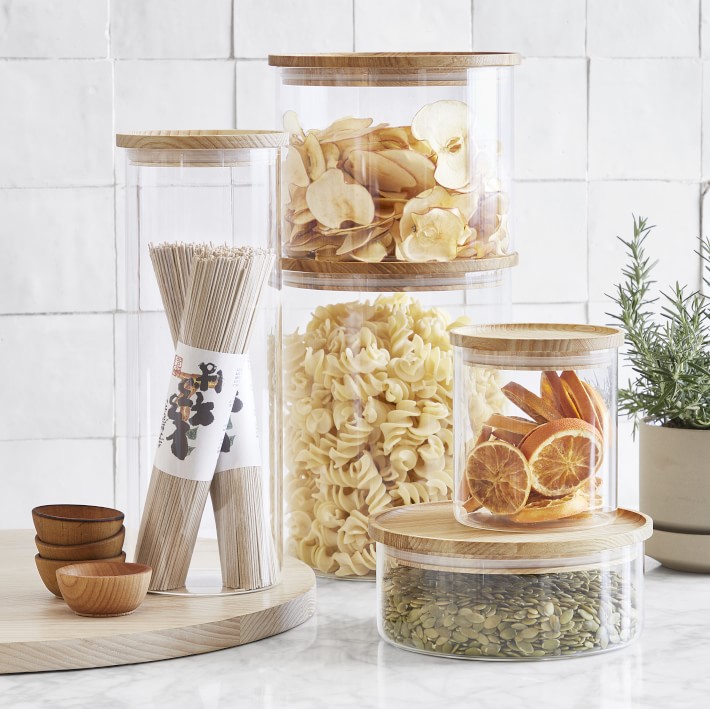
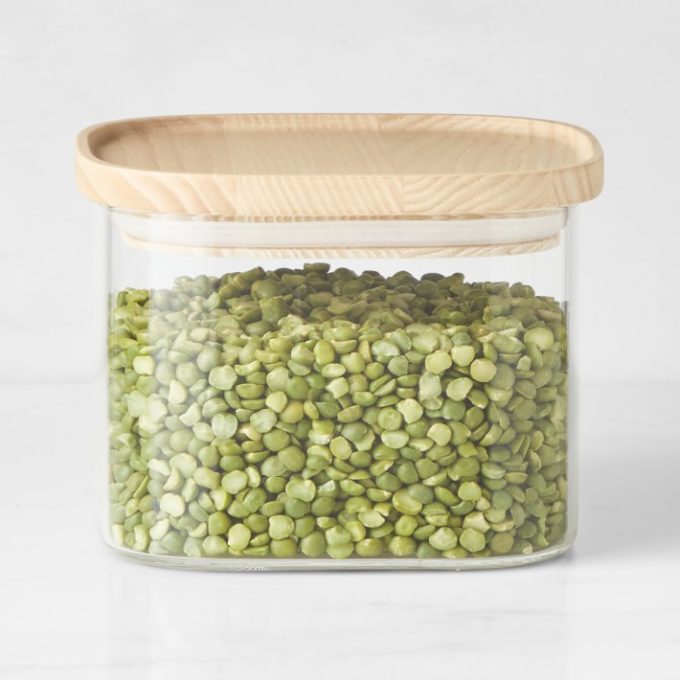
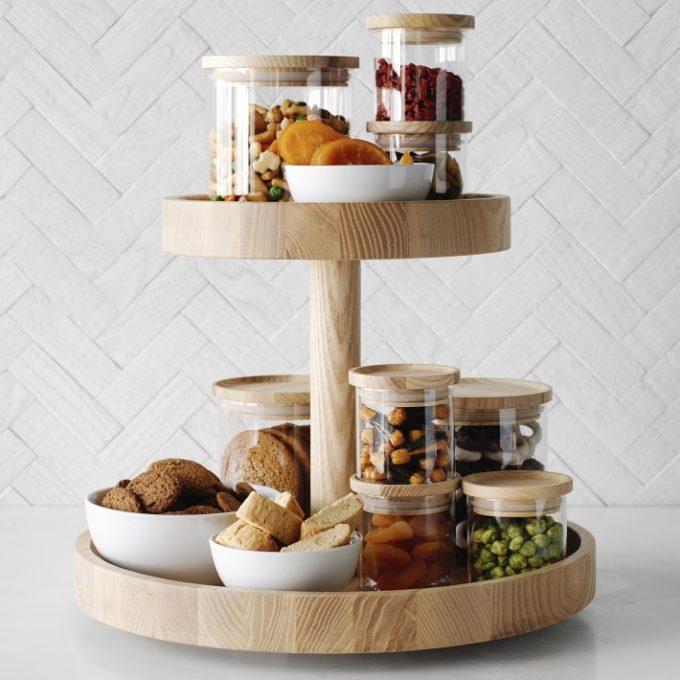
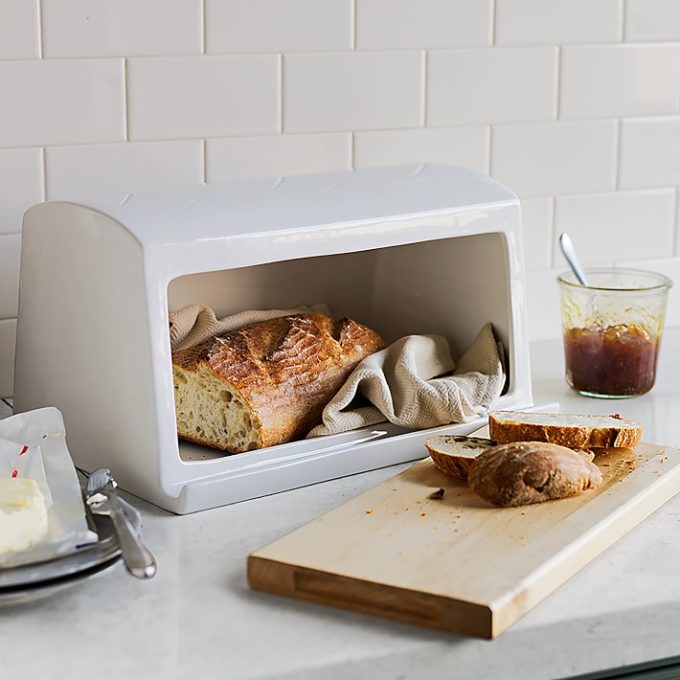
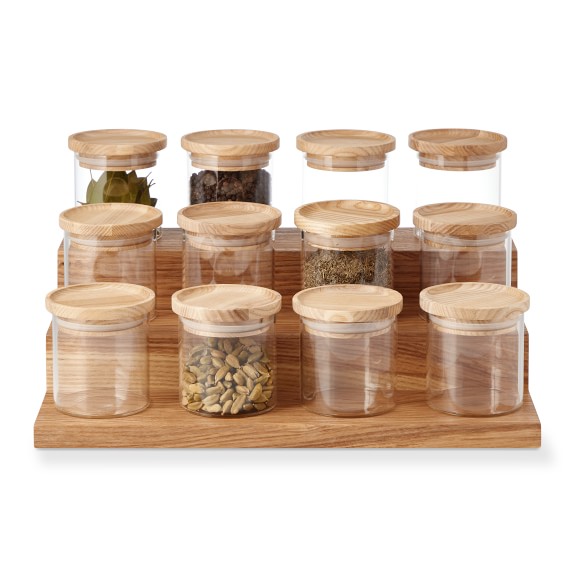
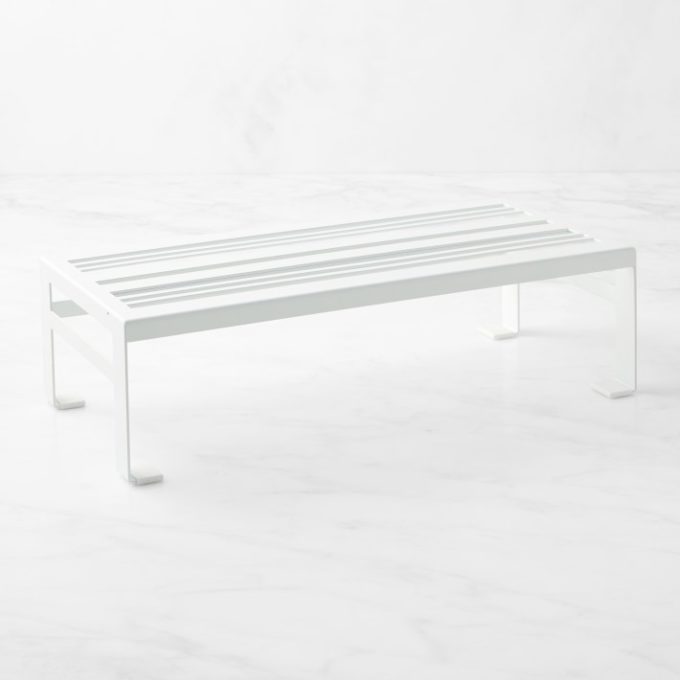
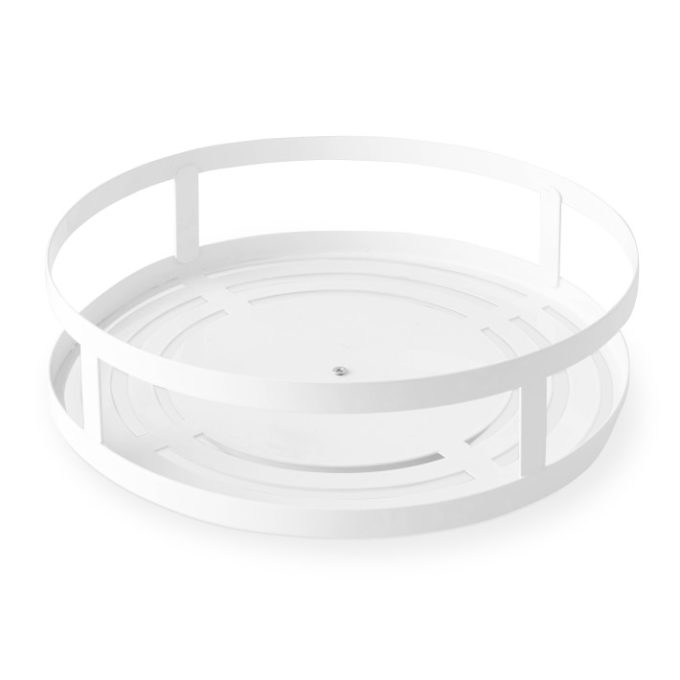
Speaking of which, we’ve got the jars you need! Consider them for different types of dried goods. Turntables are ideal for keeping daily essentials like olive oil and pepper grinders close at hand. And if your family is a starchy one, we love this bread box, which doubles as a cutting board. (Dry storage is a real focal point of the Hold Everything line, so you’ll find ways to elevate every which way you turn.)
5. Maintain
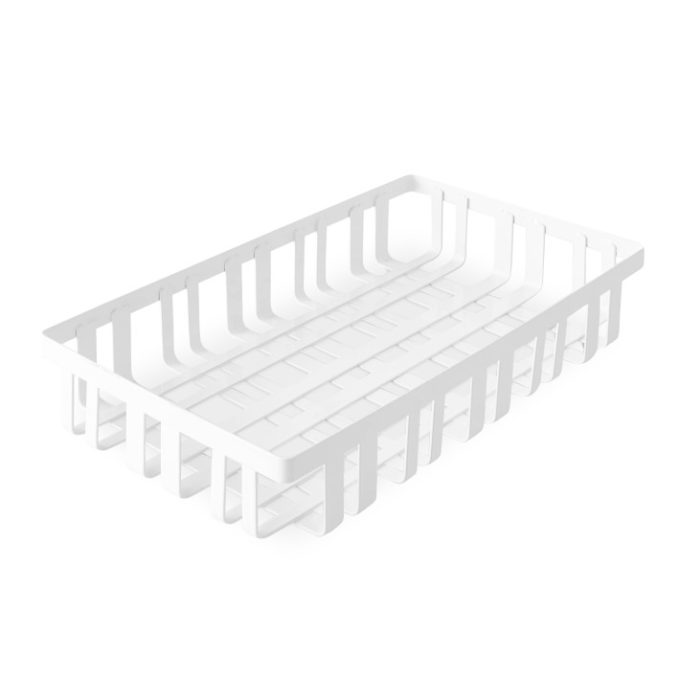
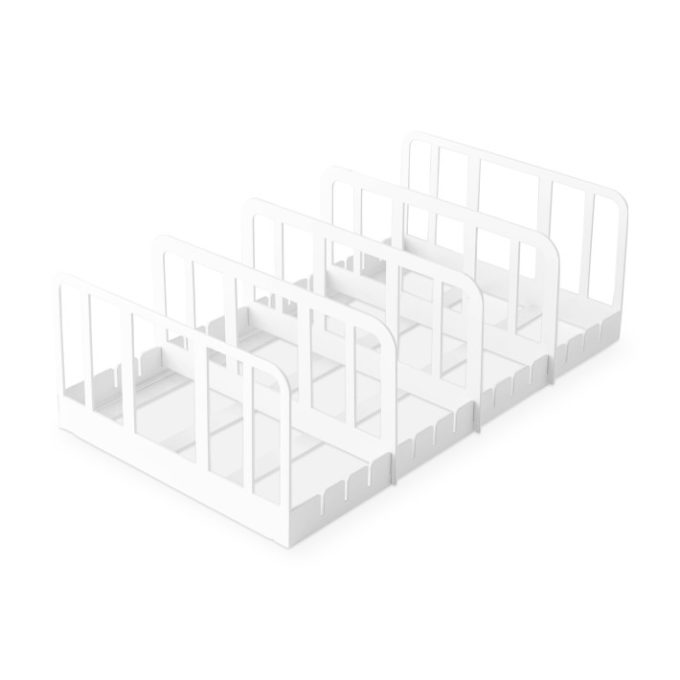
You’re off to the races! As you stay organized, be sure to store daily-use products at arm’s reach in your prime real estate areas, suggests Shira. After decanting, store any unopened packages in backstock in bins. (Those can even go in this nifty lid organizer!) Then just periodically stay on top of your gorgeous dry storage; it likely won’t even take 15 minutes going forward.
Tag @shiragill, @williamssonoma and #15minwin while showing off your successes on social media!

1 comment
Great ideas! It takes little time to get rid of the unwanted items and organize only the stuff you will use. The result is amazing!