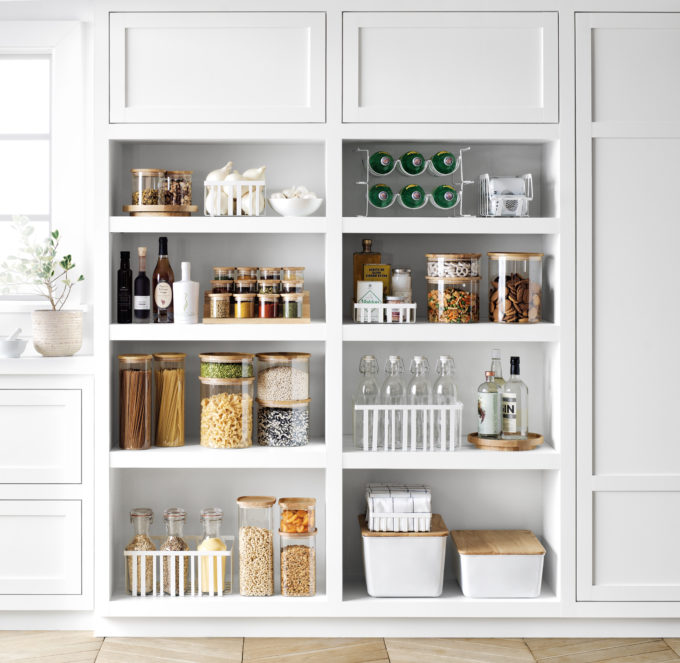
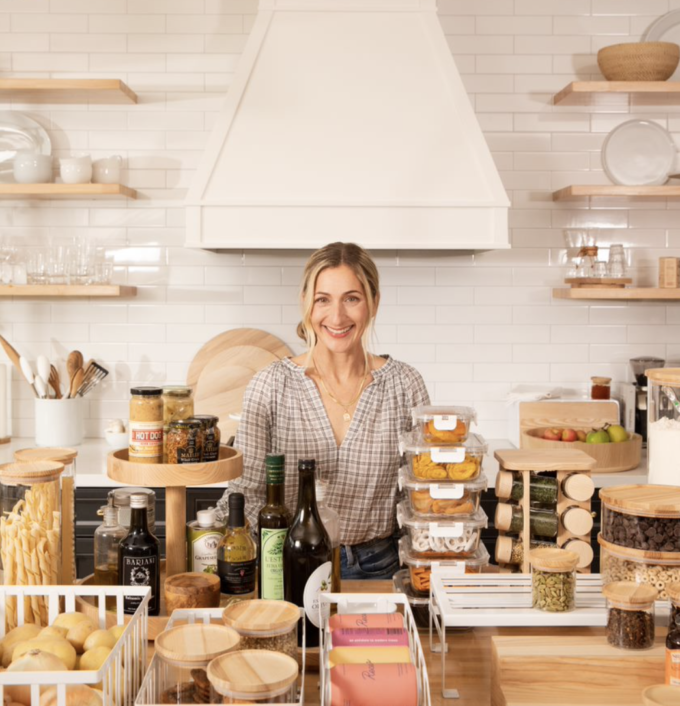
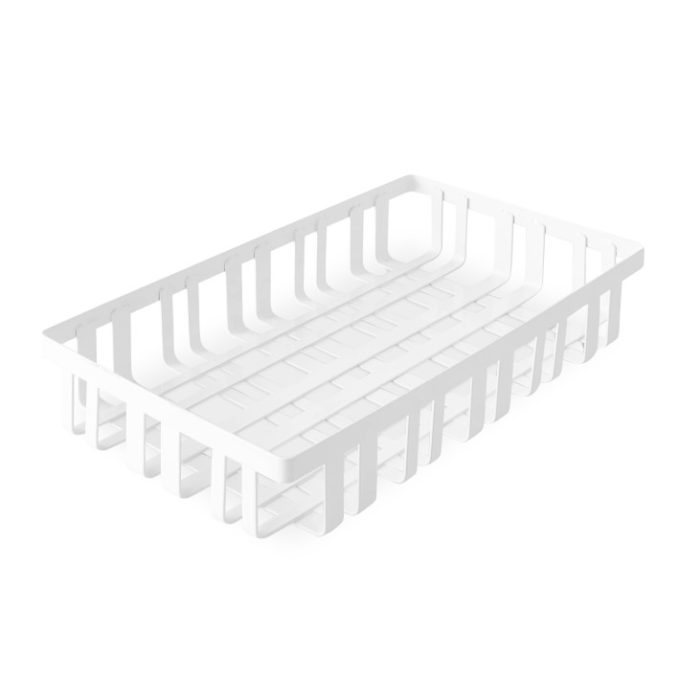
“Mom, I’m hungry right now!” Any parent gets accustomed to the particular yowl their kid has when hungry. Maybe yours goes from zero to hangry in three seconds flat. Not to worry: Shira Gill has a hack for that, employing our fab new Hold Everything line. (The days of hastily taped-up peanut butter crackers will soon be behind you!)
Before we get ahead of ourselves, allow us to re-introduce Hold Everything, our beloved, iconic home organization line. We’ve partnered with home organization expert Shira Gill (whose book, Minimalista, we love) to dream up ways to get your home shipshape for 2022. Shira specializes in what she calls “15-minute wins” (doable, mini organizational sessions to rock out while the baby sleeps, during a boring work call, etc). First, she came for your junk drawer. Now, she’ll stave off hangry hour.
We love Shira’s five-step process for getting your life pulled together, which she outlines beautifully in Minimalista. Here’s how it applies to a snack bin.
1. Clarify
First, you’ll want to clarify your specific snack station goals. Consider what you’d like your kids to have easy access to (and maybe what you’d prefer to store far out of reach). You’ll also want to think about how setting up a snack station might make the flow of daily life a bit easier. Are your kids old enough to prepare their own snacks? Pack their own lunches? Make sure the results you want are clear before you dive in!
2. Edit
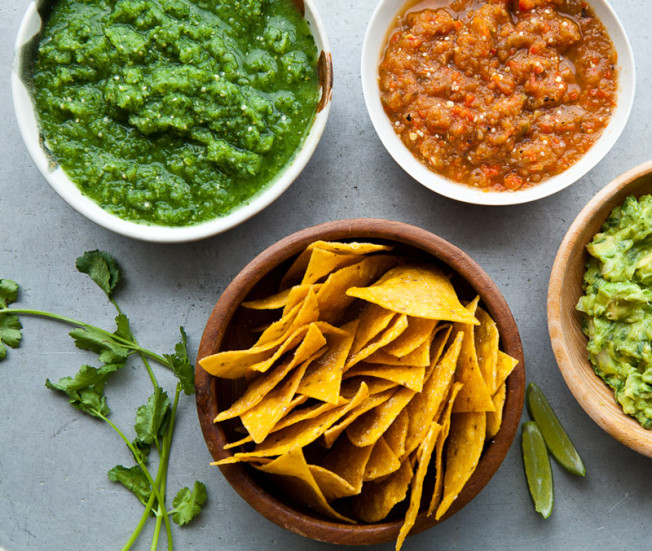
No judgment if you’re the sort of person who uses paint tape to secure a sticky bag of half-eaten marshmallows, or you save the last eight tortilla chips in a busted plastic bag sort-of secured by a chip clip. But why not move those things aside in favor of a cleaner, more sustainable system? (More on that in a minute.) Round up your existing snacks so you can quickly decide what stays and what goes. Kids can be predictable animals so it should be a breeze to access what’s on frequent rotation, and what can hit the road. Are all the existing snacks still … edible? Just make sure that everything you keep is still fresh, and make sure to compost or recycle items that are past their prime.
3. Organize
OK, here we go! Before you click “Buy,” organize what you’ve got. Make room and be realistic about the amount of space you’ve got. Many of us can’t accommodate an entire shelf just for snacks. (But maybe you can! Awesome.) Measure, eyeball, and consider moving, say, the ice cream maker to a high shelf. (Perhaps you’re like Shira and only use it a handful of times a year, but you’ll be darned if you’re getting rid of it!)
4. Elevate
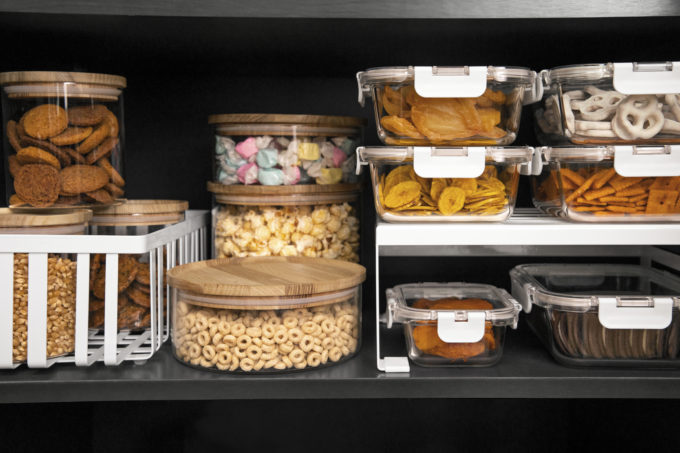
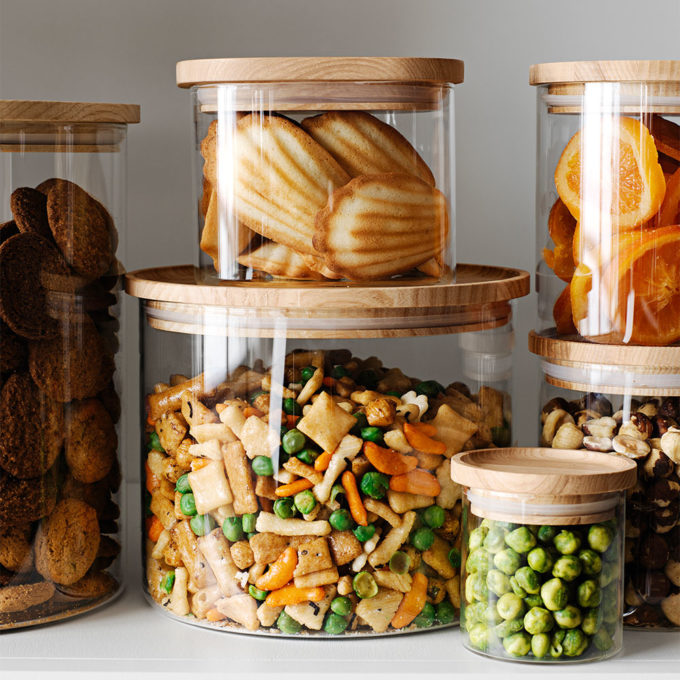
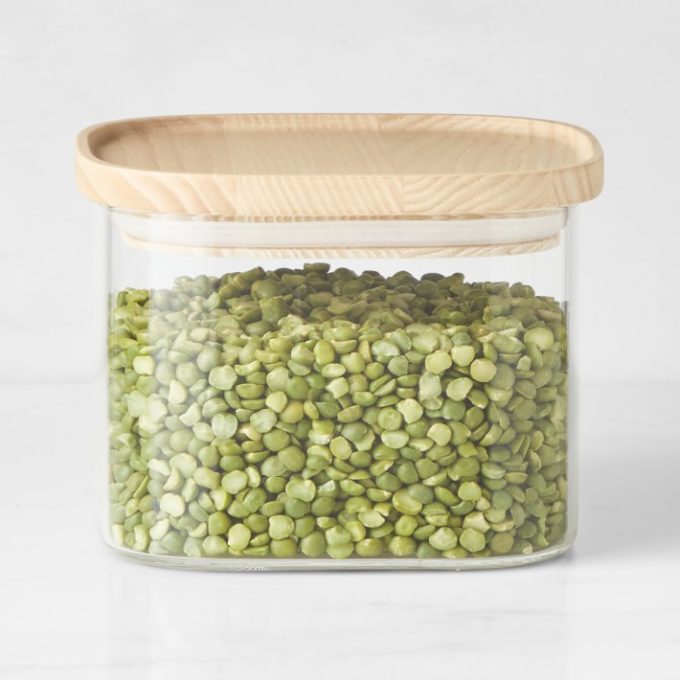
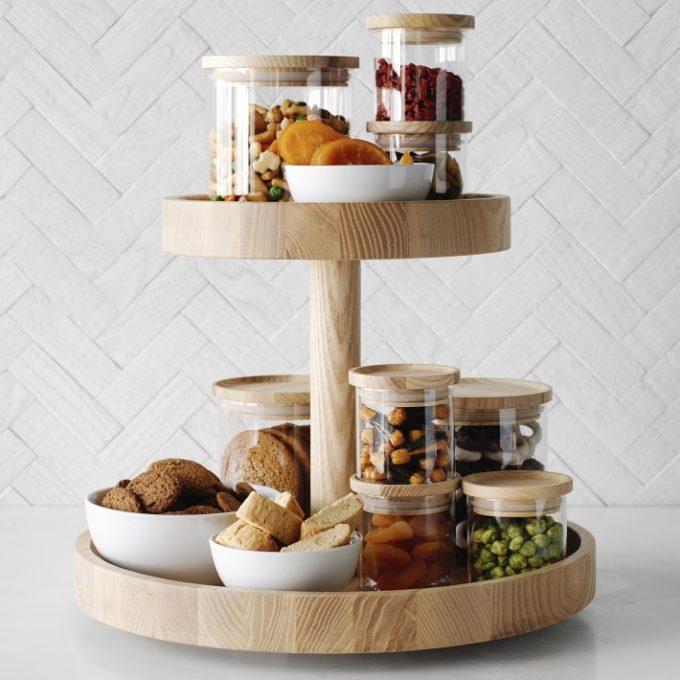
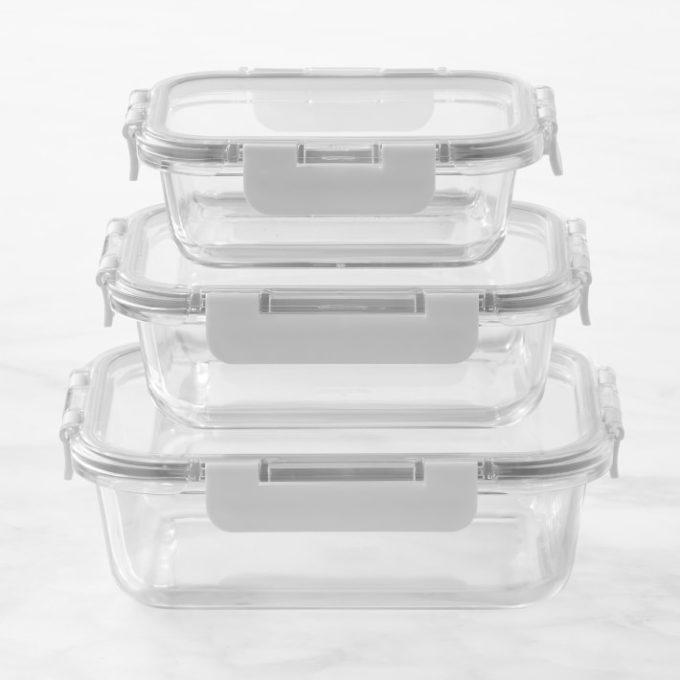
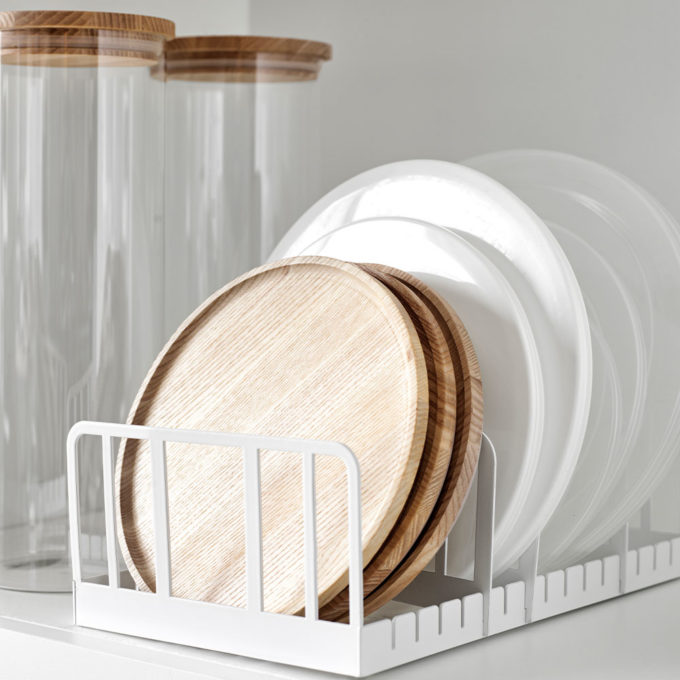
OK, the fun part is here! Now that you’ve clarified, edited and organized, it’s time to elevate. We’re thrilled to present multiple types of clear, stacking glass Hold Everything containers. Shira suggests decanting items out of their bulky packaging and into airtight glass canisters – The airtight functionality will keep your snacks fresher longer, and everyone will be able to see at a glance when you’re running low on the favorites. Set up the stocked canisters in a drawer or on a shelf that the kids can easily access them. It’s just that simple.
Pro tip: If you love a press-and-seal option for storing snacks but want to reduce your environmental footprint, simply swap your ziplock bags for reusable silicone or cloth sandwich bags,” writes Shira. “Glass jars, stainless-steel tins, compostable wax bags, or parchment bags also work well for storing snacks.”
5. Maintain
It’s easy enough to rummage through the pantry periodically to ensure everything looks shipshape. Shira likes to maintain the back stock (like sealed boxes of crackers or cookies) in labeled bins. Try to remember to buy more of the kids’ go-to snacks at the store, and decant new things into bins as you go. Snack bin! You’ve done it.

