This post comes courtesy of Williams-Sonoma Test Kitchen cook Sandra Wu.
Here in the Williams-Sonoma Test Kitchen, we are constantly baking cakes to test out new pan designs and to taste newly developed mixes. Whether we’re working on Bundt cakes, layer cakes or cakelets, our go-to procedure for ensuring a great nonstick release is greasing with shortening and flouring with instant flour. Here are some pointers on the best way to grease and flour pans.
Why shortening? Unlike butter, which needs to be softened in the microwave or be at room temperature, shortening is conveniently stored at room temperature already, making it easy to use at a moment’s notice.
Why instant flour? The finely ground version of all-purpose flour comes in a shaker-style canister, which makes it easy to coat the pans evenly while reducing the amount of flour wasted.
Here are the steps for our preferred method of greasing and flouring a cake pan:
- Brush the shortening evenly into the pan, paying particular attention to any grooved or detailed areas.
- Next, flour the pan using instant flour, a finely ground version of all-purpose flour.
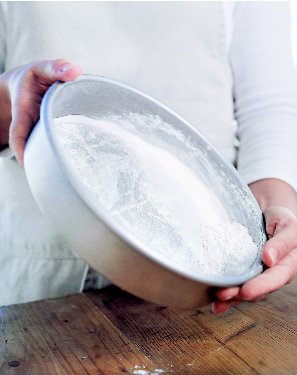
- Tilt the pan and tap lightly until the bottom and sides are evenly coated with flour. Dump out any excess flour.
When working with chocolate cakes, we typically “flour” with cocoa powder, which helps maintain the rich brown color of the cake when it’s released from the pan.
Stay tuned for more quick tips from our Test Kitchen.
About the author: As one of Williams-Sonoma’s test kitchen cooks, Sandra spends her work week developing recipes, testing new products, and generally thinking and talking about food all day long. When she’s not in the kitchen, she can be found spending time in the garden with her husband and dog.


2 comments
[…] Image from Williams-Sonoma […]
[…] teflon-coated steel pans. They’re relatively cheap, they release easily without needing to be greased-and-floured, and give me good results. If there were a type that didn’t decay over time I’d be very […]