We’re thrilled to announce the opening of our latest store tomorrow: Williams-Sonoma Minnetonka! Beginning tomorrow, in honor of the opening, we’ll be hosting a weekend full of exclusive cooking classes and events. On Saturday, July 30 at 11 a.m., learn how to Instagram like a food blogger from one of the best. One of our favorite Minneapolitans, Melissa Coleman of food blog The Fauxmartha, will be demonstrating her recipe for a regional favorite, Swedish pancakes, as well as her tips for photographing them. For those of you who can’t make it, we’re sharing a few of her photography tips below.

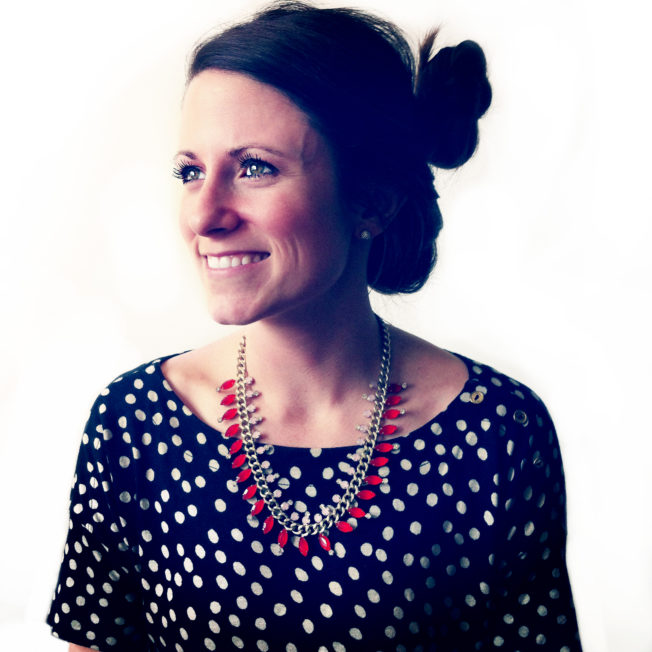
Melissa Coleman, the mastermind behind food blog The Fauxmartha. Photo courtesy Melissa Coleman
Melissa loves the simplicity and ease of shooting on a phone, but acknowledges that getting it just right takes a lot of practice. “Commit to a space, a time of day, a handful of props, and an editing app in order to understand how everything works together,” she tells us, adding, “Slowly but surely, you’ll be able to refine your process to make it both fun and efficient.”

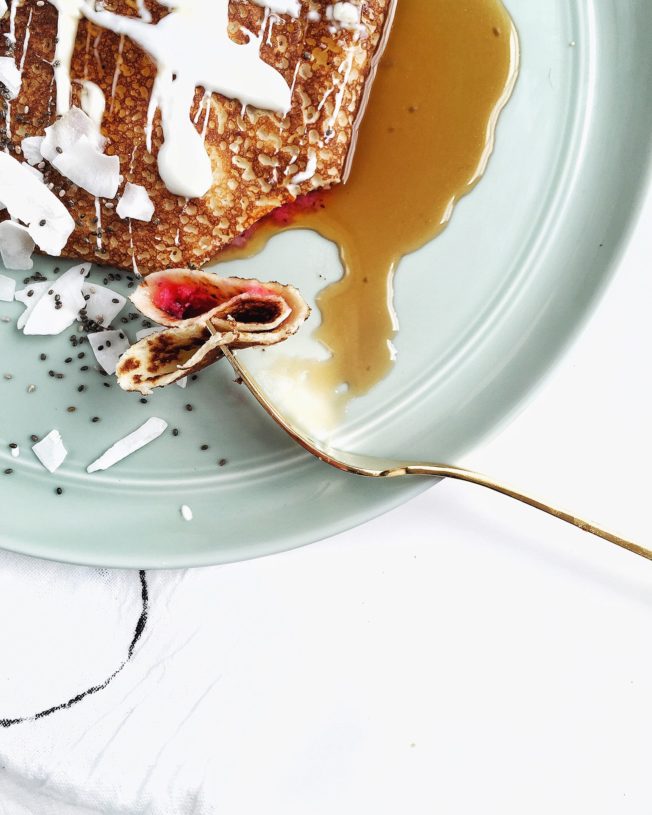
These Swedish pancakes were shot with an iPhone and edited with Snapseed and Afterlight. Photo credit: Melissa Coleman
The Fauxmartha’s Guide to Instagramming Like a Food Blogger
- Pick a spot in your space with the best natural light. Get to know the light in that area. Shoot in the morning, early afternoon, and late afternoon. Notice how the shadows change. How the color of the food changes. How the mood changes. I shoot in my entryway next to two windows on a stool with a white desktop on top from IKEA. Morning to very early afternoon gives me the best light for the diffused, bright white light I’m looking for.
- Limit your props until you get to know the light well. Light is supreme. Then introduce new variables like plates, linens, utensils, etc. When you’re developing your style, I think it’s important to try on a lot of different props to see where you land. My style is pretty minimal, so naturally I limit the number of props. I typically grab for enamel plates and matte gold utensils every time. Neither reflect a lot of light which draws more attention to the food. That’s where I like to focus all of my attention.
- When working with food, you have to work fast to catch the food when it’s most alive. Greens will wilt. Cheese will congeal. Begin thinking about composition before you actually compose the shot. Sometimes I roughly compose the shot before I actually plate the food.
- Use the screen on your phone as a viewfinder to arrange a composition. What you see live can look completely different on a screen. Grab a shot and take a look at the details. Adjust food/composition as necessary.
- Bring your images into an editing app to make minor changes. Time to edit. Download an app and get to know it. There will be a learning curve. Over time, you’ll find yourself using certain editing functions. There’s no need to use every editing function an app offers. In general, I recommend making a lot of minor adjustments as opposed a couple drastic adjustments. I edit first in Snapseed. This app gives me the most control over editing different aspects of the image. Once I correct the color, I bring the image into Afterlight. I edit a touch more and apply a 30 percent filter on the image. I use the same filter every time to create consistency in my feed. On occasion, when I pull the image into Instagram to upload, I make a couple additional tiny adjustments before pressing publish.
Read more of Melissa’s photography tips on her blog, and come check us out starting tomorrow at the new Williams-Sonoma Minnetonka: 12251 Wayzata Blvd, Minnetonka, MN 55305

1 comment
so much for this. I was into this is https://vidmate.onl/ sue and tired to tinker around to check if its possible but couldnt get it done. Now that i have seen the way you did it, thanks guys
with
regards