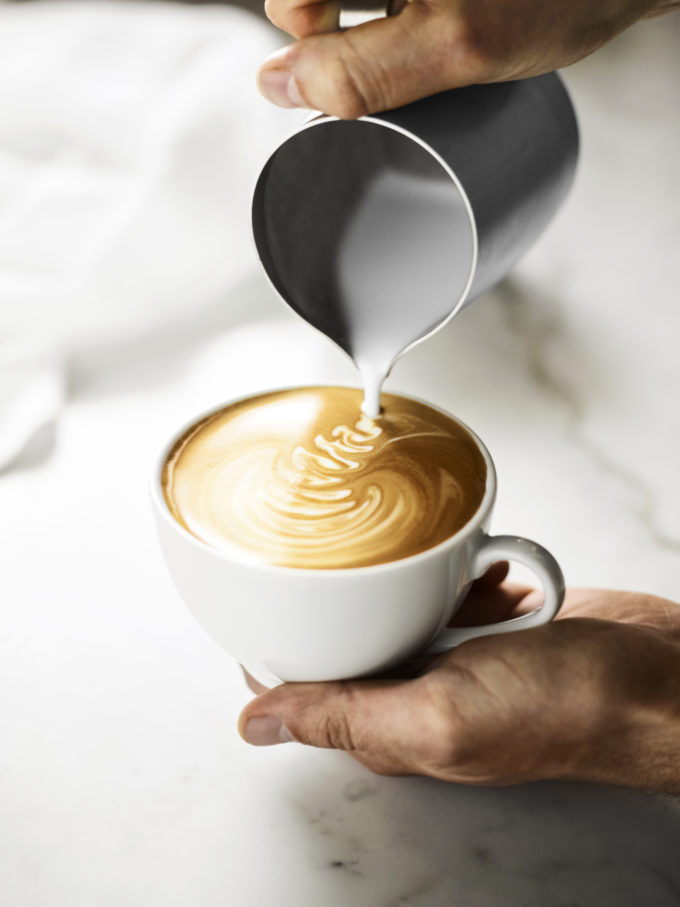
You watch as a barista deftly pours your latte. With the cup gently tilted and the milk jug close to the surface of the espresso inside, the process begins. From the thick stream of steamed milk comes a beautiful tulip (shown above), or a rosetta (which looks like a fern), or a heart. The barista makes it look easy, but you know it’s not! Well, something else we all know: practice makes perfect. Making your own latte art at home doesn’t need to be out of reach. Our friends at Breville had several tips for us as we started our latte art design journey. Ready the espresso maker!
The Milk
When making an espresso-milk concoction, reach for your metal steaming jug. Watch the video above, then get cracking. To break down this pro’s wisdom:
- Clean the steaming wand on your espresso machine by letting out a short burst of steam.
- Pick your milk. Whole dairy is best, but oat and soy milks (thanks to higher fat content than, say, rice) create tasty microfoams, too. (“Microfoam” is what people in the industry call that velvety foamed milk that has tiny, silky bubbles; that’s the ideal.)
- Watch temperature and texture. You don’t want to see big bubbles; you’re aiming for milk that looks like wet paint. Never get dairy milk hotter than 150 degrees; non-dairy milk shouldn’t get hotter than 130, so as to avoid separation. (There are special milk jugs that can help in determining when the temperature is right.)
- Listen. Put your milk jug under the steaming wand and lower the tip about 1 cm below the top of your milk, tilting the jug slightly. Start the steam, and begin to pull jug gently down and away from the wand slightly. You want a paper tearing sound, which means the right amount of steam is being introduced. A high-pitched squeal means your jug is too low.
- Move. Keep the milk moving in a small vortex as you hear that paper tearing sound. When you’re happy with the texture, move the jug up, closer to the wand, to stop introducing air, until the milk is the desired temperature.
- Clean. When you’ve set aside the jug, wipe down the steam wand with a wet cloth and carefully let out a bit of steam to clean the tip.
- Shortcut: Yes, there are shortcuts, if you don’t have a steam wand attachment. One is Breville’s electric frother. The other is a whisk-style wand. But because you’re not controlling for texture yourself, the results won’t be quite the same.
- Never re-use milk. If making latte art, you’ll get much better results with recently prepared milk.
The Espresso

Steam first, then make your espresso, say most aficionados. (Once you’ve gotten the hang of it, you can generally pack and pull your espresso shot, then start steaming milk, and they’ll be ready around the same time.) Some would say to stir your espresso before pouring in your milk in order to give yourself a blank canvas, mixing the various elements of the shot (the crema, air bubbles and “speckling” that occurs in the espresso) together.
Latte Art Technique
OK, you’re ready to make art! Our friends at Breville gave us wonderful primers for making a dot, heart, tulip and rosetta in these videos. (We also enjoyed those from Howcast.) For those who, like us, need it broken down into steps, here you go:
- Start high, then go low. (Then maybe go high again!) We’re talking about that steaming jug, of course. Whatever design you’re making, you want to start from far away from the glass so the volume of your milk goes beneath the espresso surface until you’re ready to start “drawing.”
- Tilt your cup. You want to maximize the surface area, so tilt your cup and slowly tilt it to be vertical as your pour goes along, as you would a Champagne flute or beer stein.
- To make a heart, as in the video above, pour into the center of the glass surface area, gradually getting the jug closer to the top of the liquid, until it’s three-fourths full. As you start to see white milk, start gently shaking the jug side to side to create the heart shape. Pull the jug quickly away, still pouring, then zip a line away from you towards the far edge of the glass to make a line through the heart. (See here!) You can use similar techniques to make a tulip and rosetta.
- Practice makes perfect! Occasionally, someone knocks it out of the park with a pitch-perfect heart the first try. Even seasoned baristas can lose their trademark rosetta and have to practice it back, though. So don’t be glum if your first heart is more of a muddy mess. It’ll still be delicious.

1 comment
Thanks for sharing this article. I loved