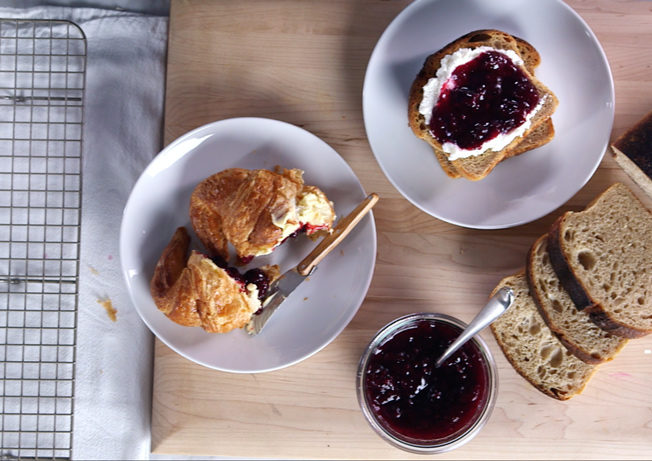
You might be surprised to hear that you can make jam at home with just three simple ingredients and a few canning accessories. Keep reading for a step-by-step tutorial on how to make strawberry jam without pectin. Plus, learn why sugar does more than sweeten jam, and we’ll teach you a trick for testing if your jam’s ready and share the secret ingredient that adds structure to your jam. Grab some jars and stockpots to get ready for this jam session!
Sugar Your Fruit
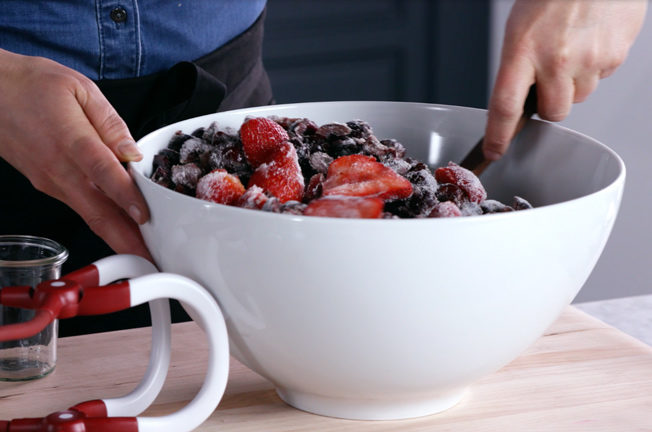
Fresh strawberries that reach their seasonal peak are ideal for making jam. You’ll need about 3 1/2 pounds, rinsed and hulled (while a paring knife works just fine, a strawberry huller makes quick work of this). In a ceramic or glass bowl, combine the strawberries and about 5 1/2 cups of sugar. Cover the bowl with parchment paper and let it stand for about two hours at room temperature. This gives the berries a chance to release their juices and mingle with the sugar. See it all in action in our video tutorial here:
Most recipes call for quite a bit of sugar, and you may be tempted to scrimp on it, but don’t: Sugar is the key to making sure that the fruit sets up well and that you get the right texture out of your jam. Stir the sugar in so the fruit is well coated.
Transfer the fruit mixture into a large stockpot, set over low heat. While cooking the berries, stir them gently until the sugar dissolves. Bring everything to a simmer, pour the mixture into a ceramic or glass bowl and cover it all up again with parchment paper. Refrigerate your berry blend overnight.
Sterilize Your Jars
After refrigerating your fruit mixture overnight, it’s time to prepare jars. Take five to seven half-pint canning jars, wash them and place the jars in a large stockpot filled with warm water. Let the water rise to boiling temperature, and boil the jars for 10 minutes.
Add Your Lemon Juice
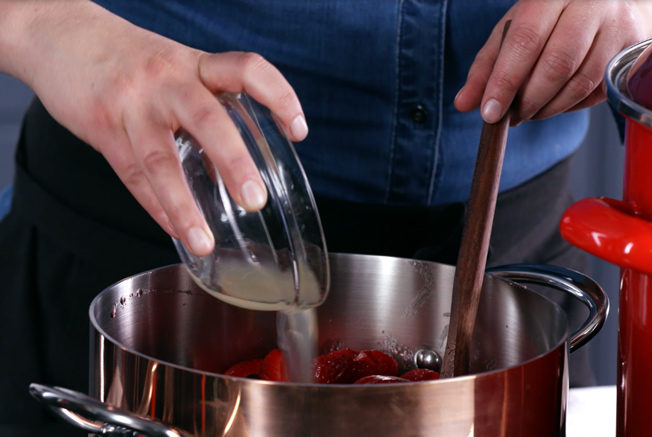
While the jars are sterilizing, add your strawberries to a separate stockpot. It’s time to add your secret thickener: lemon juice. This tart juice brightens the flavors of the jam—but more importantly, it helps the fruit thicken up, too. Pour 2 tablespoons of lemon juice into the pot. Let everything boil for about 10 to 15 more minutes while stirring constantly and skimming the foam off the jam. If the fruit starts to stick or burn, turn down the heat to medium. At that point, the strawberries should thicken and gel, so you can reduce the heat to medium low. Continue cooking for another five minutes until the jam is very thick.
Check Your Jam
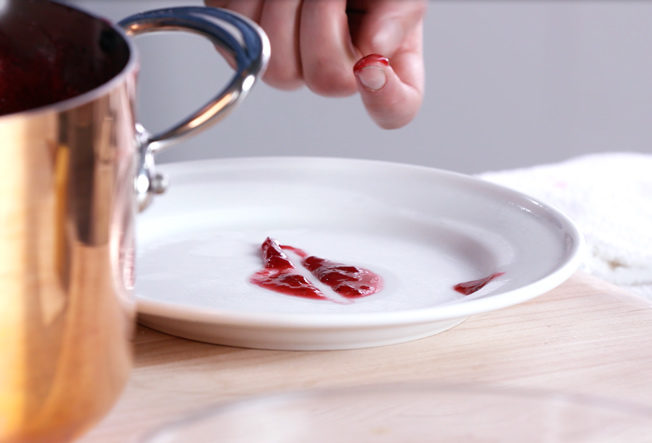
Your jam will usually set at 220 to 221ºF, which is the point at which sugar tends to thicken and thread up. To keep track, use a candy thermometer to test the temperature. If you don’t have a thermometer, you can still check the temperature of your jam.
Put a plate in the freezer for about an hour. Then, take a small dollop of jam from the pot and put it onto the chilled plate. Look to see if the jam appears set and if you can draw your finger cleanly through the middle of the jam without it becoming watery. If you drag your finger through the jam and it doesn’t stay divided or it immediately pools back in on itself, it’s not set just yet. In that case, keep heating it a bit longer, and try again. Or, see if your jam falls off the back of a tablespoon without separating. If it does, then it’s ready!
Jar Up Your Jam
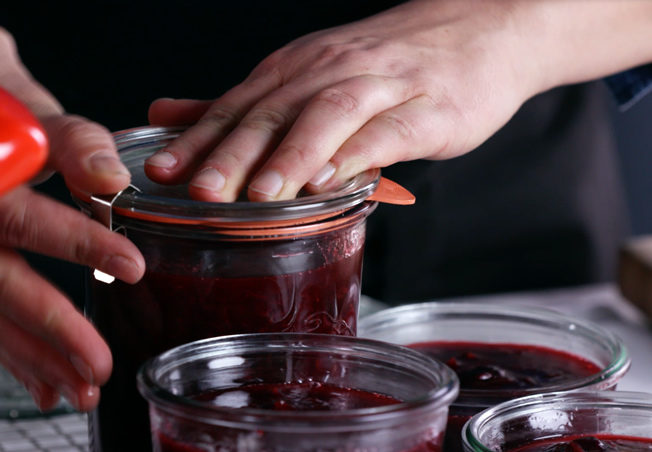
Using a funnel in each of the sterilized jars, ladle in the jam. Put a gasket on the top of the jar when it’s filled, and place the lid on each jar. Place an empty jar rack into the bottom of the pot that has the hot water in it to stabilize the containers. Add the jars to the rack, and bring the water back to a boil. The heat will take the air out of the jars, creating a vacuum seal that you want for your jams.
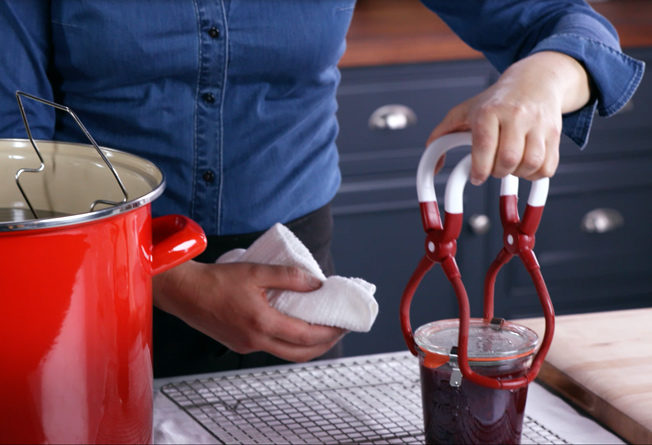
After boiling the jars for 10 minutes, use jar tongs to lift each out of the hot water. Place each container on a flat rack to cool. Rest the jars for about an hour until they’re easy to handle. Try to lift the lid up on one jar; if it stays on, you know you have a great vacuum seal.
Enjoy Your Jam
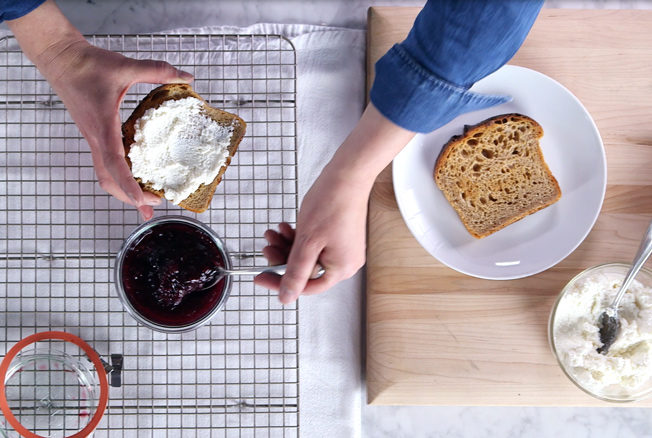
Preserves makes great gifts alone or as accompaniments with easy breakfast mixes for a complete treat. Enjoy strawberry jam on toast with ricotta cheese, use it as cake or cookie filling, glaze meats with it or add it to oatmeal or yogurt. Or, enjoy a peanut butter and homemade jam sandwich for a classic comfort food snack.
Get the strawberry jam recipe!

7 comments
I don’t know what I did wrong, but mine turned into strawberry taffy after refrigeration!
Hey there are many online games in free time if you want to play something really challenging then just on single click play bejeweled 3 game online without any charges and signup.
Can this jam be stored without refrigeration. How long will it keep?
Can you use frozen strawberries?
What is the shelf life on this type of jam? Store in a cool, dark place? What if I want to add rhubarb, is the refrigerate/cooking time/sugar/lemon juice ratio the same?
It’s rather important that you use bottled juice, isn’t it? It wasn’t mentioned, so I’m asking.
Awesome recipes.