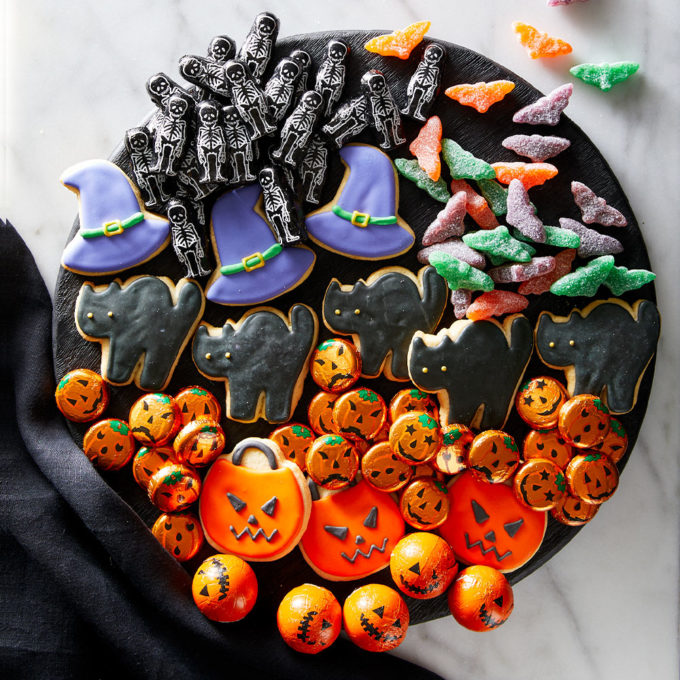
Cheese boards overflowing with wedges of artisanal cheese, cured meats, olives and crackers have become ubiquitous on Instagram these days. (Just look at the hashtag #cheeseboard, which has more than 1,800,000 entries.) Given that we all seem to be nursing a massive sweet tooth at Williams Sonoma, it didn’t take us long to come up with another idea. Why not apply the aesthetic of the modern cheese plate to create a very of-the-moment candy board?
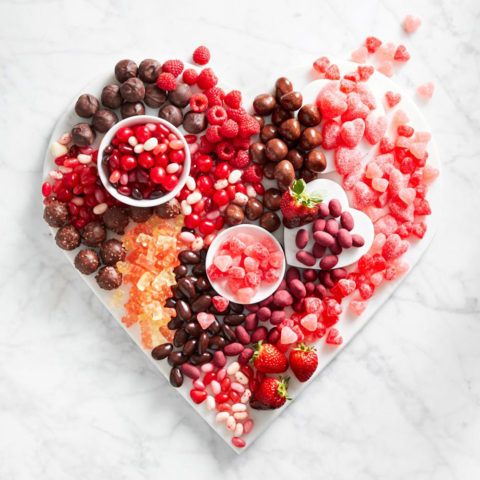
In September and October, the focus is on a candy board to showcase the trick-or-treater’s dream haul. In December, we go for a board of Peppermint Bark and holiday cookies. February features a Valentine’s Day board of hearts and chocolates. March inspires an Easter board of foil-wrapped eggs and jelly beans. Well, you get the picture! Every month, every holiday, every celebration brings its own unique opportunity for a showstopping, perfectly crafted, sweet tooth-aching masterpiece. We approach every board as a clean slate—just waiting for the build of our next special occasion sensation. For our tips on creating a standout candy board, keep reading.
1. Choose a neutral background.
Since you’re aiming for lots of colorful candy additions to your board, keep the surface of your platter as simple and neutral as possible. We choose something bright to match the intensity of colors—a white marble pedestal—but a slate serving board or well-kept wooden cutting board works, too.
2. When selecting candy, aim for as many different colors as you can.
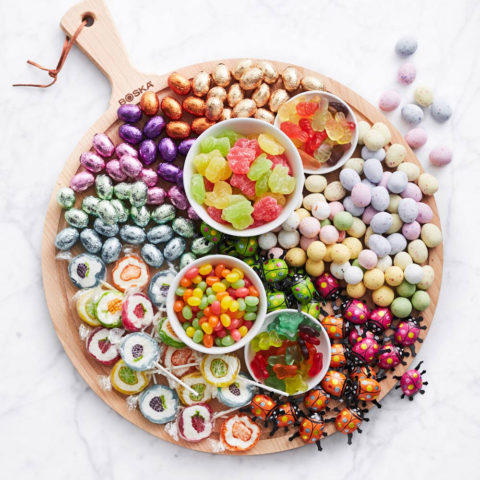
Regardless of whether you opt for sugary or chocolaty candies, the most important aspect of the candy selection is that it’s colorful. For maximum variety, choose candies and cookies available in colors that pop—think less brown and beige, and more brights such as red, orange and purple. In general, the more color, the better: For the most dramatic effect, select confections that belong to different color families (such as yellow, blue or red). A whole board of red, pink and orange candy, for instance, may veer toward overkill.
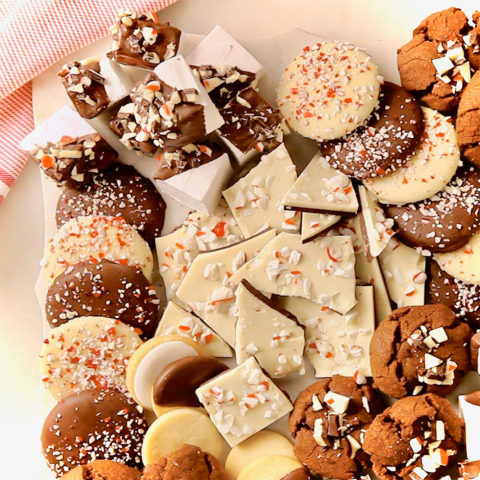
Don’t fret if you don’t have every single color, or even if you have repeat colors. For instance, red, orange and purple on our halloween board and white, red and chocolate on our holiday board all make recurring appearances, and seeing them in different spots helps unify the entire concept.
3. Pre-arrange candy in clear glasses or bowls.
Doing this makes it easy to grab more candy or put candy back as you’re styling the plate.
4. Pick a mix of different shapes, textures and sizes, too.
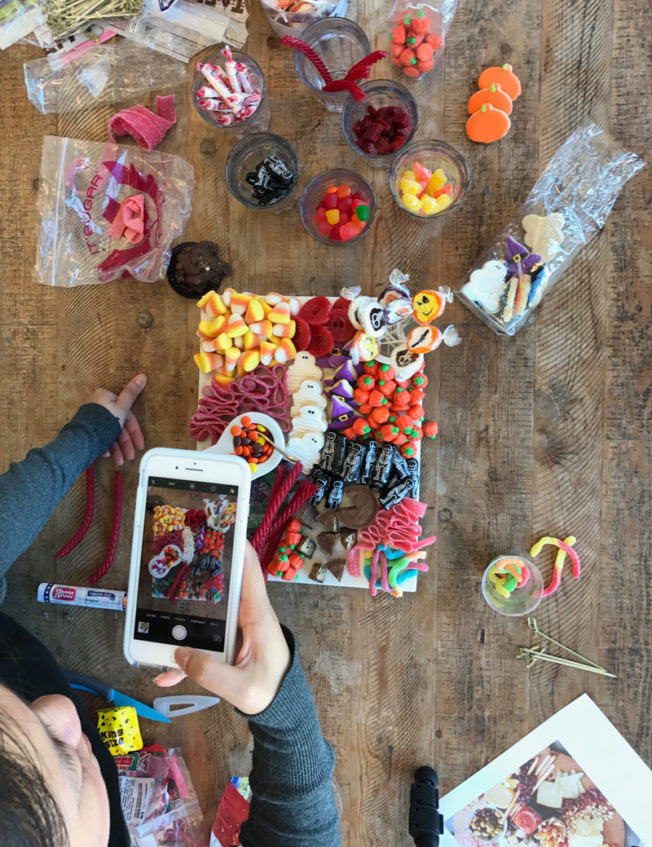
We mix different shapes—long and skinny, round and flat, spiral, and more—to keep each board interesting. The same goes for textures: For a crystalline effect, we use lots of sugar-coated sour gummy candy, while licorice adds an element of shine and mallow cream pumpkins contrast those with their matte surface. It is also helpful to add variety in size; we position large pieces like individual cookies next to small candies like capsule-shaped licorice allsorts. We arrange candies in clusters of different shapes, some layered vertically in rows, some stacked horizontally and others arranged in staggered diagonal form.
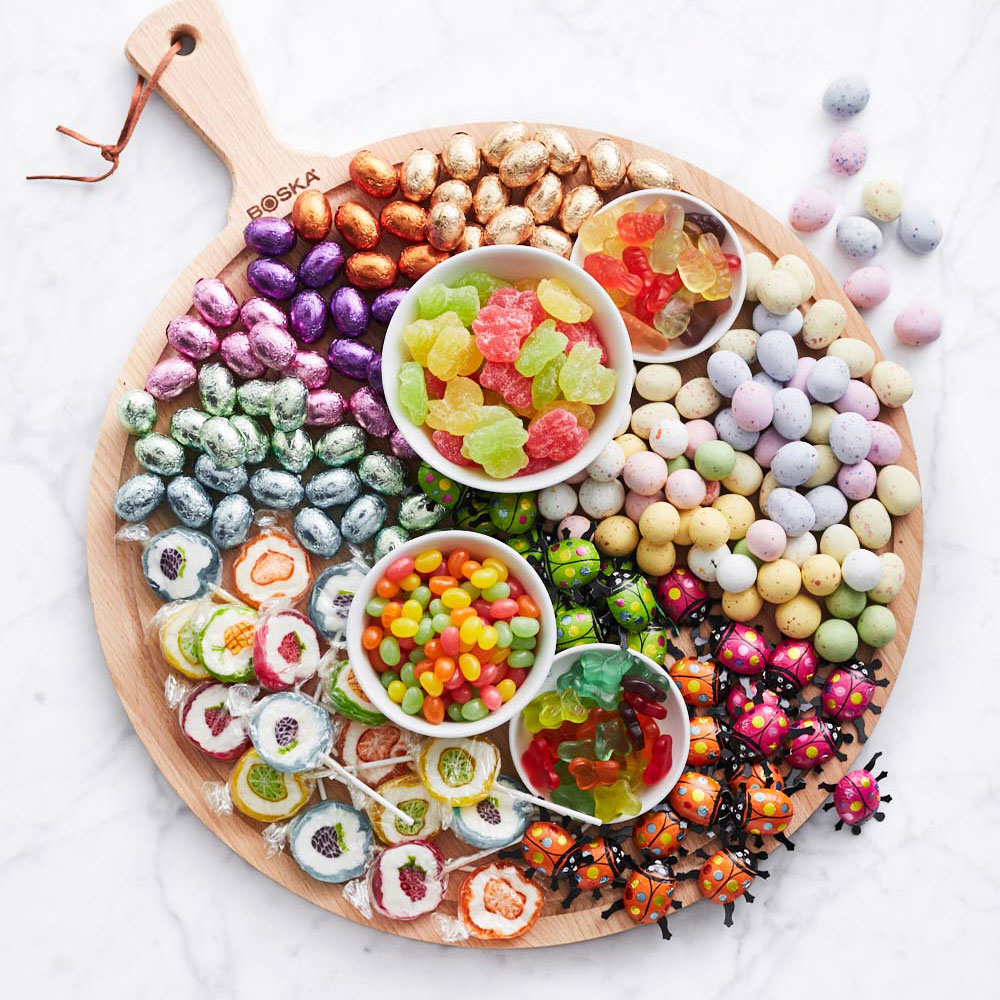
We try to think of the board as a landscape with varied topography. In this way, it is helpful to bring in props, like small condiment bowls and tiny silverware. Adding them close to the perimeter helps frame the board, and vertically stacking tall candies, like lollipops, creates even more dimension on the plate.
5. Find cheese analogues.
Part of the charm of our candy boards are their striking resemblance to a cheese plate. To achieve this, we mimick some of the forms you might see on a common cheese plate, such as a wheel of cheese, olives, prosciutto or breadsticks. (Need a starting point? Try a peanut butter cup or a peppermint patty as a stand-in for a cheese wheel, or drape sour candy belts in the same way you might see thinly-sliced cured meat on a charcuterie board.)
6. Fill up your platter completely.
With any type of appetizer platter, abundance is key. Fill up the plate as much as you possibly can—then pile on even more.
7. Want it to look good for the ‘gram? Then the camera is your friend.
If you’re planning to share your sweet assortment on social media, take lots of pictures as you build your board. We find that often the best way to tell if something looks good or needs tweaks is to take a picture of it, then look directly at your picture for feedback, either via your camera’ viewfinder or in your photo album on your phone.


11 comments
god u tempted me
Omg these are the most creative boards I’ve ever seen! I especially love the ladybug and egg spring-themed candies… but the Halloween ones are my favorite. I can’t wait for fall so I can try to create something like the ones pictured here! Thanks for the article and the inspiration!
Thank you so much for providing individuals with an extremely splendid chance to read from this web
site. It really is so excellent and as well , stuffed with a great time for me and
my office friends to search your web site really
thrice in 7 days to study the latest items you
have. And indeed, I’m usually pleased with your superb tricks served by you.
Certain two points in this article are essentially the most
efficient I’ve had.
It has a great recipe. I will check it out and let you know if it rates. Enjoy!
The cheese board was amazing and very beautiful! My kids loved this cheese board. Thank you for sharing.
Great blog … keep sharing with us .
[…] Williams-Sonoma […]
Cool recipe
[…] Cheese boards overflowing with wedges of artisanal cheese, cured meats, olives and crackers have become ubiquitous on Instagram these days. (Just look at the … read more The post 6 Easy Steps to Creating the Most Instagram-Worthy Candy Board Ever appeared first on Williams-Sonoma Taste .source… […]
thank you for the article, very useful
Great site you have got here.. It’s hard to find excellent writing like yours these days.
I honestly appreciate people like you! Take care!!